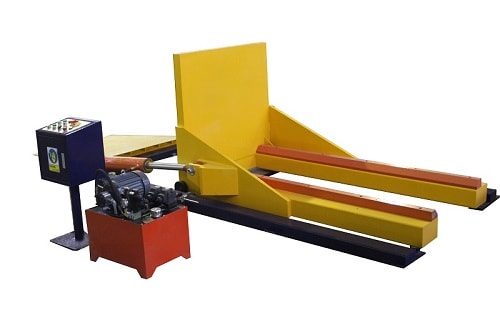
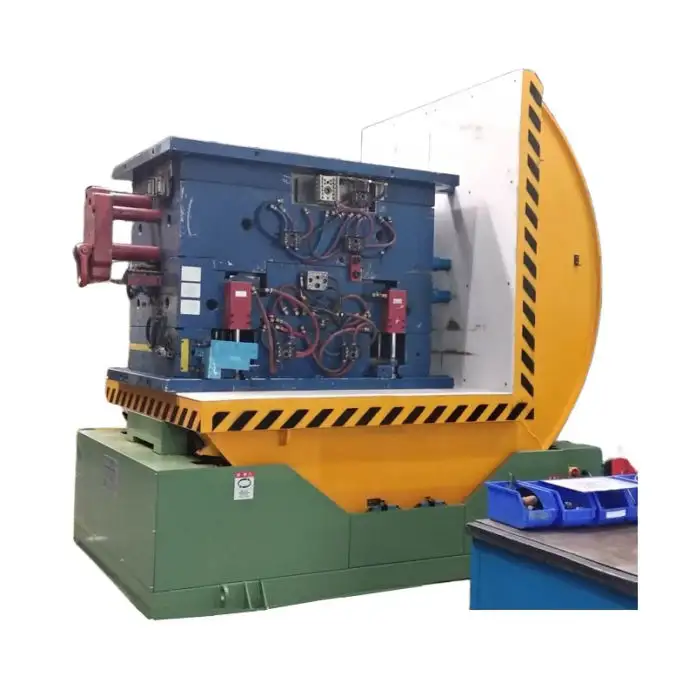
How to Install a Floor-Mounted Upender & Tilter: A Step-by-Step Guide
As a factory manager, you know that downtime is your biggest enemy. The moment you decide to invest in a floor-mounted upender and tilter, you're not just buying a machine; you're buying a solution to your production bottlenecks, safety hazards, and profit leaks. But the journey from a crate on your factory floor to a fully operational, productivity-boosting asset is critical. A poor installation can turn a promising investment into a source of constant headaches, safety risks, and underperformance. This guide is born from my two decades of experience, first on the factory floor and now as the founder of FHOPEPACK. I've seen the transformative power of a correctly installed upender and the costly mistakes of a rushed job. Let's ensure your installation is a success story.
The correct installation of a floor-mounted upender and tilter involves a meticulous, step-by-step process that begins long before the machine arrives, focusing on site preparation, precise assembly, rigorous testing, and comprehensive operator training to ensure safety, efficiency, and long-term reliability. This process is not just about following a manual; it's about integrating a powerful piece of equipment into the heart of your metal processing workflow. A flawless installation maximizes your return on investment by ensuring the machine operates at peak performance from day one, safeguarding your workers and your products. (floor-mounted upender installation guide, tilter setup procedure)
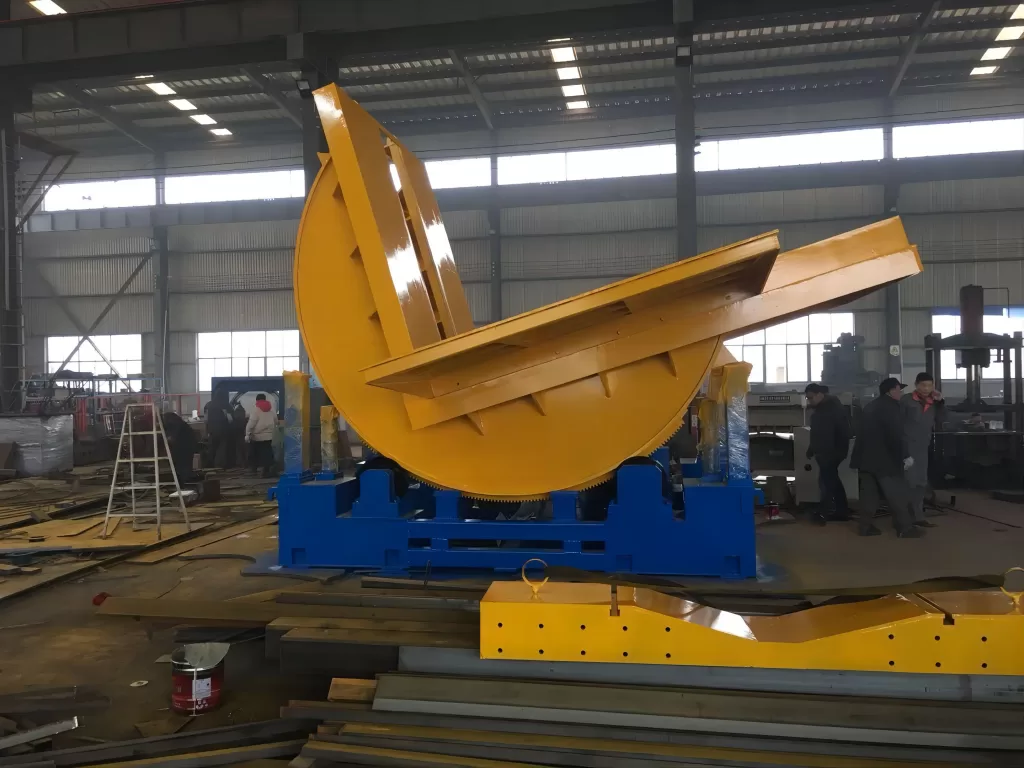
You might be thinking, "We have skilled mechanics; we can handle this." While that's true, the unique challenges of installing heavy-duty material handling equipment demand specific knowledge. A misaligned base can cause premature wear. Incorrect hydraulic connections can lead to leaks or failures. Skipping a load test can risk a catastrophic accident. This guide will walk you through each critical phase, from the foundational work to the final sign-off, helping you avoid common pitfalls. By the end, you'll have a clear roadmap to a smooth and successful installation, turning your new upender into the reliable workhorse your factory needs.
1. What Preparations Are Needed Before the Upender Arrives?
The most successful installations are 90% preparation and 10% execution. Waiting for the machine to arrive before starting your prep work is a recipe for delays and cost overruns. Proactive planning transforms the installation from a disruptive event into a well-orchestrated project. This phase is about creating the perfect environment for your new equipment to thrive. Think of it as preparing the foundation for a building; if the foundation is weak, everything built on top is at risk.
Before your floor-mounted upender and tilter arrives, you must complete four key preparations: conducting a thorough site assessment and foundation planning, ensuring utility access (power, hydraulics, air), planning the delivery and rigging path, and assembling the necessary tools, permits, and personnel. Neglecting any of these can lead to installation delays, safety incidents, or improper machine function. A solid, level concrete foundation is non-negotiable for stability. You must verify the voltage, phase, and amperage requirements for the electrical supply and ensure compressed air or hydraulic power units are ready and accessible. (pre-installation site survey for upender, foundation requirements for floor tilter)

🔨 The Detailed Pre-Installation Checklist
Let's break down these preparatory steps into actionable tasks. Use this as your project management checklist.
| Preparation Phase | Key Tasks | Critical Questions to Answer | Common Pitfalls to Avoid |
|---|---|---|---|
| 📍 Site & Foundation | - Measure and mark the exact installation footprint. - Verify floor load capacity. - Pour/level a reinforced concrete foundation (if needed). - Install anchor bolts or embedded plates as per drawings. |
Is the floor level within 3mm over the machine's base area? Can the floor support the machine's weight PLUS the maximum load? Are there obstructions (pipes, conduits) overhead or underground? |
Assuming the existing floor is adequate without a professional assessment. Using incorrect bolt types or grout. |
| ⚡ Utilities & Access | - Confirm electrical panel capacity and run conduit to the site. - Ensure hydraulic power unit (if external) location is finalized. - Verify compressed air line pressure and flow rate. - Plan for proper lighting and maintenance clearance around the machine. |
Does the electrician have the machine's electrical schematics? Are the air and hydraulic hoses the correct length and rating? Is there at least 1 meter of clearance on all sides for operation and maintenance? |
Not ordering long-lead items like special transformers or hoses early enough. |
| 🚚 Delivery & Rigging | - Clear a path from the loading dock to the installation site. - Confirm door dimensions, ceiling height, and turning radii. - Arrange for a certified crane or forklift with adequate capacity. - Schedule receiving personnel and the rigging team. |
Can the rigging equipment handle the weight and dimensions of the largest crate? Have you obtained any necessary internal work permits for heavy lifting? |
Underestimating the space needed to maneuver large crates, causing damage to walls or other equipment. |
| 👷 Personnel & Tools | - Assign a dedicated project manager for the installation. - Ensure your mechanics have the required tools (torque wrenches, laser level, etc.). - Review the manufacturer's installation manual with the team. - Schedule the vendor's installation supervisor (highly recommended). |
Who is the single point of contact for the installation team? Do we have all the special tools listed in the manual? |
Trying to "wing it" without the manual or assuming standard tools will suffice. Lack of clear communication leads to errors. |
Investing time here pays massive dividends. I recall a client who skipped the floor load test, assuming their decade-old concrete was fine. During the first test with a full coil, we heard a worrying crack. We stopped immediately, and an inspection revealed a sub-surface weakness. Fixing it after the fact cost weeks of downtime and thousands of dollars. A simple test beforehand would have cost a few hundred. Preparation isn't an expense; it's insurance. (material handling equipment installation planning, industrial upender delivery logistics)
2. What Are the Key Steps for Assembling and Positioning the Machine?
The delivery day has arrived. The crates are on your floor. Now, the physical transformation begins. This phase is where precision and patience are paramount. Rushing the assembly or forcing components into place can cause misalignment, binding, and permanent damage to the machine's structure and mechanics. A methodical, step-by-step approach guided by the manufacturer's instructions is the only path to a correct installation. Think of it like assembling a high-precision watch; every part has its place and must be fitted perfectly.
The key steps for assembling and positioning a floor-mounted upender involve systematic uncrating, careful lifting and placement onto the foundation, bolting down the main frame, assembling major components (arms, platens, hydraulic cylinders), and connecting the power unit and hydraulic lines, all while constantly checking for alignment and level. The core principle is to build from the ground up, ensuring each stage is perfectly level and square before proceeding to the next. The main base frame is the most critical component; if it is not level, the entire machine will operate under stress. (assembling coil upender, positioning floor mounted tilter)
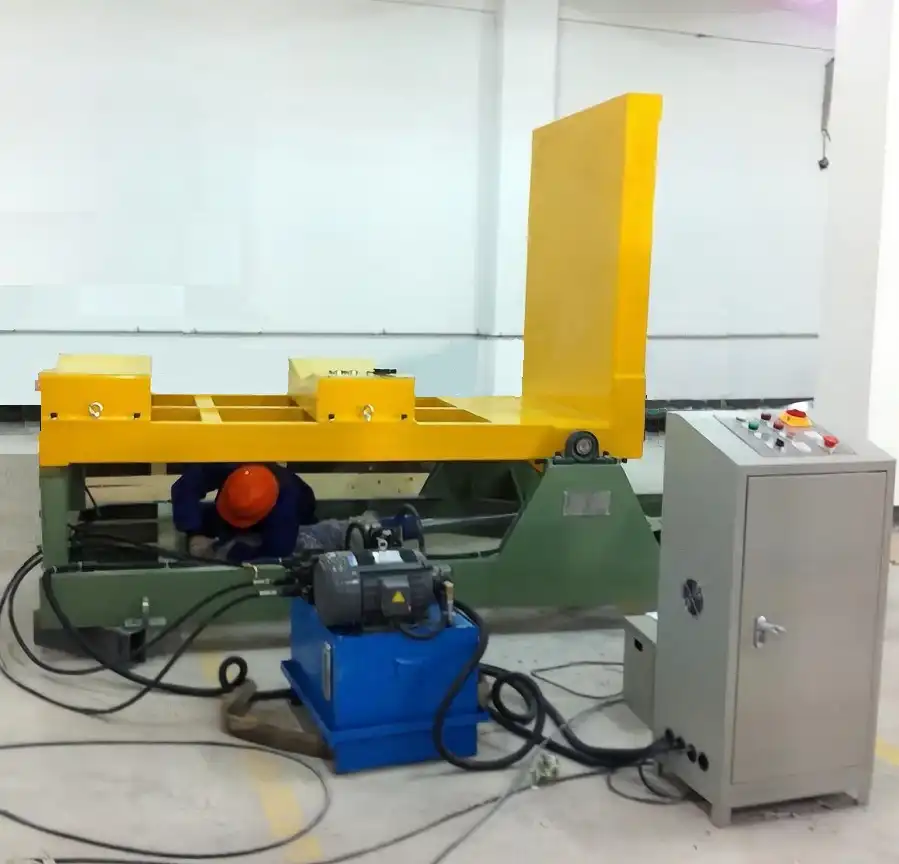
🛠️ A Structured Assembly Sequence
Follow this sequence to ensure a robust and accurate build. Do not skip steps.
-
Uncrating and Inspection 🧐
- Carefully remove packaging. Save all manuals, packing lists, and hardware.
- Visually inspect every component for shipping damage. Take photos and report any issues to the supplier immediately.
- Organize parts and hardware in a clean, designated area.
-
Positioning the Base Frame ⚖️
- Using the planned rigging equipment, lift the main base frame.
- Slowly lower it onto the foundation, aligning it with the anchor bolts or embedded plates.
- This is the most important step: Use a precision laser level. Shim the base as necessary until it is level in all directions (typically within 0.5mm/meter). The machine manual will specify the tolerance.
- Once level, hand-tighten the anchor nuts. Do not fully torque them yet.
-
Assembling the Rotating Structure 🔄
- Attach the main rotating arms or the C-hook assembly to the base frame's pivot points. Use the provided pins and securing rings.
- This often requires carefully aligning large, heavy components. Use soft slings and guide ropes to control the movement.
- Attach the lifting platens or clamping arms to the rotating structure.
-
Installing the Power System 🔌
- Position the hydraulic power unit (HPU) or connect to the plant's central system as planned.
- Connect the hydraulic hoses between the HPU, control valves, and the cylinders on the upender. Ensure connections are clean and tight to prevent leaks. Use thread sealant as specified.
- Connect the electrical wiring from the main power supply to the HPU and then to the machine's control panel. A licensed electrician must perform this work.
-
Final Alignment and Bolting 🔩
- With all major components attached but systems off, perform a final check for level and squareness.
- Now, perform the final torque sequence on all anchor bolts and critical structural fasteners. Use a calibrated torque wrench and follow the manual's pattern (e.g., star pattern) to avoid warping the base.
- Pour non-shrink grout under the base frame if specified by the manufacturer for full load-bearing contact.
A common mistake is to fully torque the base bolts immediately after placement. The frame needs to be able to be slightly adjusted with shims to achieve perfect level. Tightening it down on an unlevel surface locks in the error. Another tip: when connecting hydraulics, cap the ends of hoses and ports until the moment of connection to keep dirt out. A single grain of sand in a hydraulic valve can cause a malfunction. Taking an extra hour to be meticulous here can save days of troubleshooting later. (heavy machinery assembly procedure, hydraulic connection for upenders)
3. How Do You Conduct the Initial Testing and Commissioning?
The machine is bolted down and connected. Now comes the moment of truth: making it move. Commissioning is not just "turning it on." It is a rigorous, systematic process to verify every function, safety feature, and performance parameter under controlled conditions. This phase ensures the machine operates as designed and is safe for your operators. Skipping or rushing through commissioning is an enormous risk—to both personnel and the equipment itself. It's the final quality check before the machine enters service.
Commissioning a floor-mounted upender involves a strict sequence: starting with a dry run (no load) to check all mechanical movements and limit switches, followed by a series of incremental load tests (25%, 50%, 75%, 100% of capacity) to verify stability, hydraulic performance, and structural integrity, all while monitoring for leaks, unusual noises, or alignment issues. The process must be documented, and all safety interlocks—like emergency stops, two-hand controls, and light curtains—must be tested and verified as fully functional before any load is lifted. (upender commissioning procedure, load testing industrial tilter)
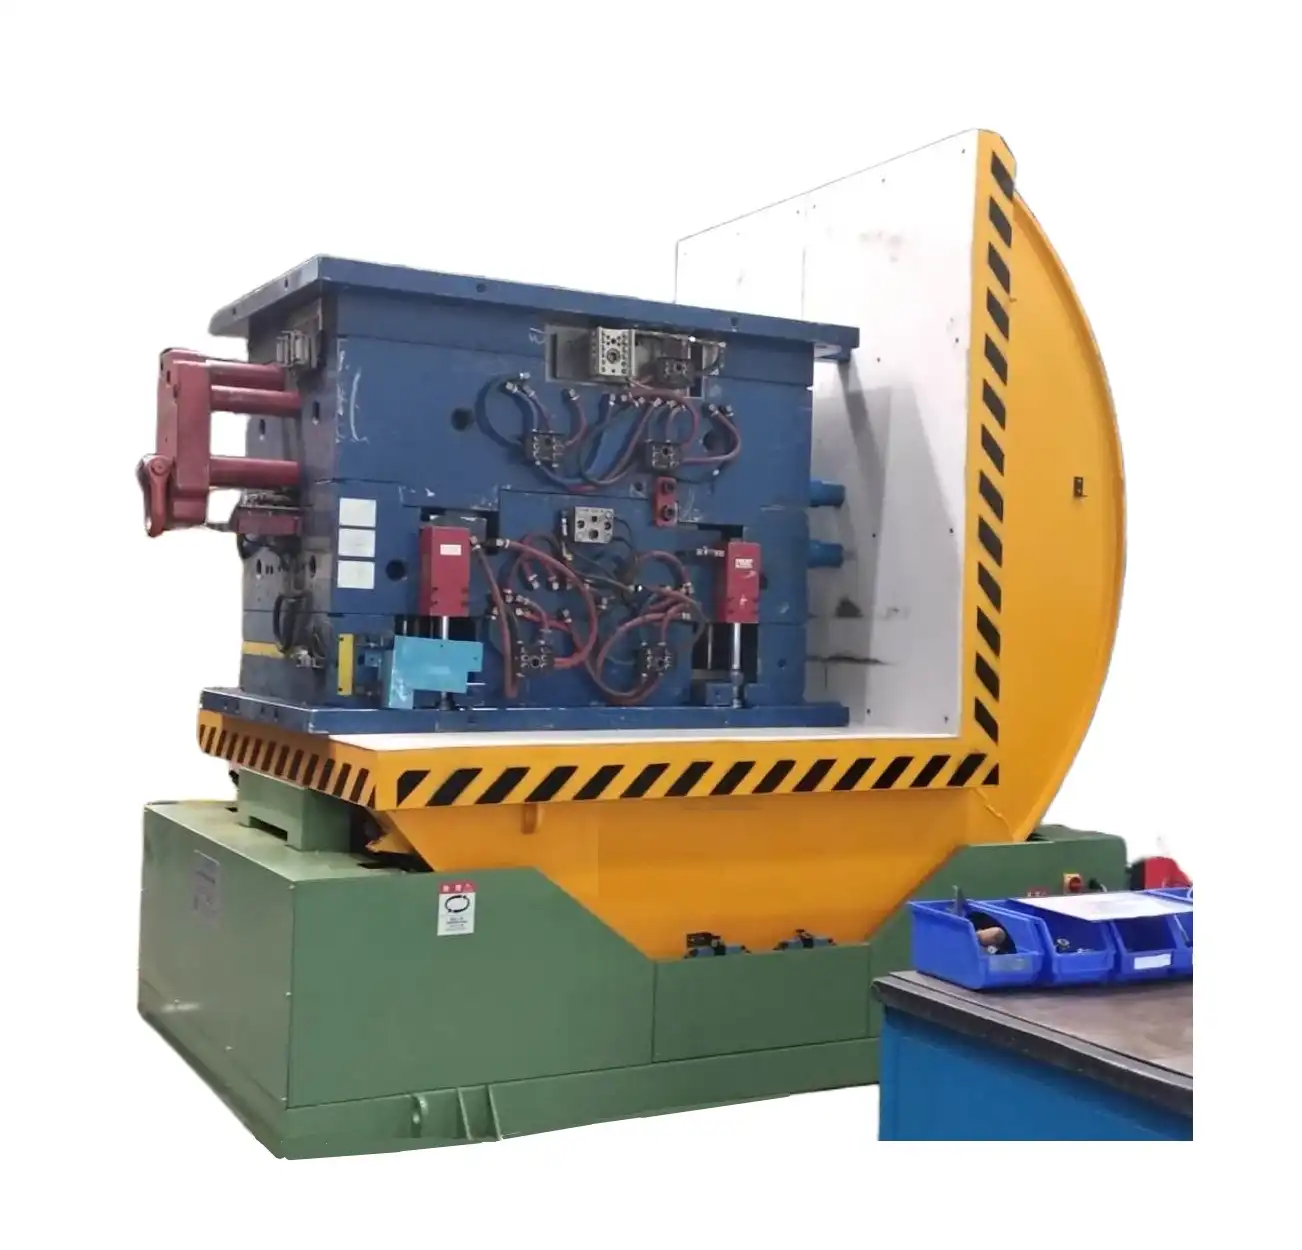
✅ The Step-by-Step Commissioning Protocol
Follow this protocol meticulously. Create a checklist and have the installation supervisor sign off on each step.
Phase 1: Dry Run & Safety Check (NO LOAD)
- Power On: Energize the electrical system. Check for error codes on the control panel.
- Function Test: Operate every control function slowly.
- Extend/retract clamping arms.
- Rotate the tilter frame forward and backward through its full range.
- Test the rotation lock/release mechanism.
- Safety System Verification: This is critical.
- Press every Emergency Stop button. The machine must halt all motion immediately.
- Test any two-hand control systems—they should require simultaneous activation.
- Verify that guarding and light curtains stop motion when breached.
- Check that limit switches at the ends of rotation are engaged correctly to prevent over-travel.
Phase 2: Incremental Load Testing
- 25% Load Test: Use a known, lighter load (like a dummy block or a light coil).
- Perform a full lift and tilt cycle.
- Listen: Any grinding, knocking, or squealing?
- Look: Check for hydraulic leaks at all connections. Observe the machine's frame for any visible flex or movement it shouldn't have.
- Measure: Use a level on the load platens to ensure the load is being held evenly.
- 50%, 75%, and 100% Load Tests: Repeat the process with progressively heavier loads up to the machine's maximum rated capacity.
- Pay special attention to hydraulic pressure gauges during the 100% test. They should be within the system's normal operating range, not spiking.
- Observe the machine's stability. There should be no "bouncing" or "settling" after a movement stops.
- After holding a full load at the peak of its tilt for 5-10 minutes, check for any cylinder drift (slow, unintended movement), which indicates an internal valve leak.
Phase 3: Performance & Documentation
- Cycle Time: Time a full cycle (pick up, tilt, return, lower) to ensure it meets the specifications you were promised.
- Final Inspection: Walk around the machine one last time. Tighten any fittings that may have loosened during testing.
- Documentation: Fill out the manufacturer's commissioning report. Note any observations, even minor ones. This report is part of the machine's warranty record. Have the vendor's supervisor and your project manager sign it.
I always insist on being present for the 100% load test. It's the ultimate proof of the installation's quality. Once, during such a test, we noticed a very slight, high-pitched whine from the HPU at maximum pressure. It was easy to miss. We investigated and found a slightly undersized return line filter causing a restriction. Replacing it took 30 minutes and prevented a future pump failure. Commissioning is your chance to find and fix these "infant mortality" issues before they find you during production. (industrial equipment safety testing, hydraulic system commissioning checklist)
4. What Training and Maintenance Plans Ensure Long-Term Success?
The installation is complete, and the machine works perfectly. Your job is not done. The greatest upender in the world will fail if operated incorrectly or neglected. The transition from a project team's responsibility to your production team's daily asset is a critical handoff. This phase focuses on knowledge transfer and establishing routines that protect your investment for years to come. Your goal is to create operator competence and maintenance discipline.
To ensure long-term success, you must implement a two-part plan: comprehensive, hands-on operator training focused on safe daily procedures and emergency responses, and a proactive preventive maintenance (PM) schedule based on the manufacturer's recommendations, including daily inspections, weekly checks, and monthly/annual service tasks. The operator is the first line of defense against misuse and the first to spot potential problems. The maintenance plan turns random repairs into predictable, scheduled upkeep, preventing catastrophic failures. (upender operator training, preventive maintenance for floor tilters)
📋 Building a Culture of Ownership
Part 1: Effective Operator Training
Don't just hand over the manual. Conduct formal training sessions.
- Classroom Theory: Explain the machine's purpose, its major components, and the physics of the load (center of gravity, why secure clamping is vital).
- Hands-On Practice: Under supervision, have each operator run through multiple cycles with test loads. Drill them on:
- Pre-operation inspection (checking hydraulic levels, looking for leaks, testing E-stops).
- Correct load positioning and securing.
- The full, safe operating cycle.
- Emergency procedures: What to do if a load shifts, if a hose bursts, or if the machine stops unexpectedly.
- Certification: Have each operator demonstrate competency and sign a document stating they understand the procedures. Keep records.
Part 2: A Proactive Maintenance Schedule
Create a simple, visual schedule. Use a checklist format posted near the machine.
| Frequency | Key Tasks | Responsible Party |
|---|---|---|
| Daily | - Check hydraulic oil level and temperature. - Inspect for oil, air, or water leaks. - Test emergency stop function. - Visually check hoses, wires, and structural welds for damage. |
Operator |
| Weekly | - Clean the machine, especially pivot points and guide rails. - Check and tighten loose bolts/nuts on guards and covers. - Inspect clamping pads for wear or damage. |
Maintenance Tech |
| Monthly | - Take a sample of hydraulic fluid (if recommended) to check for contamination. - Grease all lubrication points (zerk fittings) with the specified grease. - Check electrical connections for tightness. |
Maintenance Tech |
| Annually | - Complete oil change and filter replacement for the hydraulic system. - Conduct a thorough inspection of all structural components, cylinders, and valves by a qualified technician. - Re-calibrate or verify limit switches and pressure settings. |
Vendor or Senior Tech |
Why This Matters: A trained operator will notice a small oil spot forming under a cylinder and report it. The weekly maintenance check will catch a loose guard before it falls off. The annual service will replace worn seals before they fail during a production run. This systematic approach transforms the upender from a cost center into a reliable, predictable asset. It also builds a partnership with your supplier. Companies like Fengding and Wuxi Buwei are valued not just for their robust machines but for their support in creating these long-term operational plans. Investing in training and maintenance is the final, crucial step to securing the full ROI from your floor-mounted upender. (industrial equipment lifecycle management, ROI on material handling automation)
Conclusion
A successful floor-mounted upender installation is a strategic project that extends from meticulous site prep to disciplined