Hydraulic Upender & Tilter Leak Prevention and Seal Maintenance?
As a factory manager, you know the feeling. The production line is humming, orders are shipping on time, and then you see it—a small, dark puddle of hydraulic fluid forming under your coil upender. Your heart sinks. This isn't just a mess; it's the start of unplanned downtime, costly repairs, and a major hit to your operational efficiency. For managers like Michael in Mexico, who rely on heavy-duty equipment in demanding metal processing environments, hydraulic leaks are more than an annoyance—they are a direct threat to productivity, safety, and the bottom line. The pressure to keep machines running in harsh conditions is immense, and a leaking tilter can bring your entire packaging line to a grinding halt.
Effective hydraulic upender and tilter leak prevention hinges on a proactive maintenance strategy focused on the seal system. This involves regular inspection of seals and cylinders, using high-quality hydraulic fluid, maintaining proper system cleanliness, and controlling operating temperatures. By understanding the common failure points and implementing a scheduled maintenance routine, you can drastically reduce leaks, extend equipment life, and ensure reliable, safe operation for your coil and wire rod handling. (hydraulic upender leak prevention, seal maintenance for coil tilters)

You might think a small leak is a problem for tomorrow. But in the world of heavy manufacturing, tomorrow's problem has already started costing you money today. The good news is that most hydraulic leaks are preventable. They are not random failures but the result of specific, understandable conditions. By diving into the "why" behind seal failure and the "how" of proper maintenance, you can transform your upender from a potential liability into a pillar of reliable productivity. Let's explore the critical steps to keep your hydraulic systems sealed tight and your operations running smoothly.
1. Why Do Hydraulic Seals in Upenders Fail Prematurely?
Imagine investing in a robust coil upender, expecting years of service, only to face seal failure within months. This frustration is common, but rarely inevitable. Seal failure is typically a symptom, not the root cause. Understanding the real reasons behind premature wear empowers you to take corrective action and protect your investment. For a plant manager overseeing tons of steel daily, this knowledge is crucial for planning and preventing costly line stoppages.
Hydraulic seals in upenders and tilters fail prematurely due to contamination, improper installation, excessive heat, pressure spikes, and chemical incompatibility. Abrasive particles in the fluid score the seal surfaces, while misalignment during installation creates uneven wear. High temperatures degrade seal material, and pressure surges can extrude seals from their grooves. Using the wrong fluid can cause the seal to swell, shrink, or deteriorate. (causes of hydraulic seal failure, upender maintenance issues)
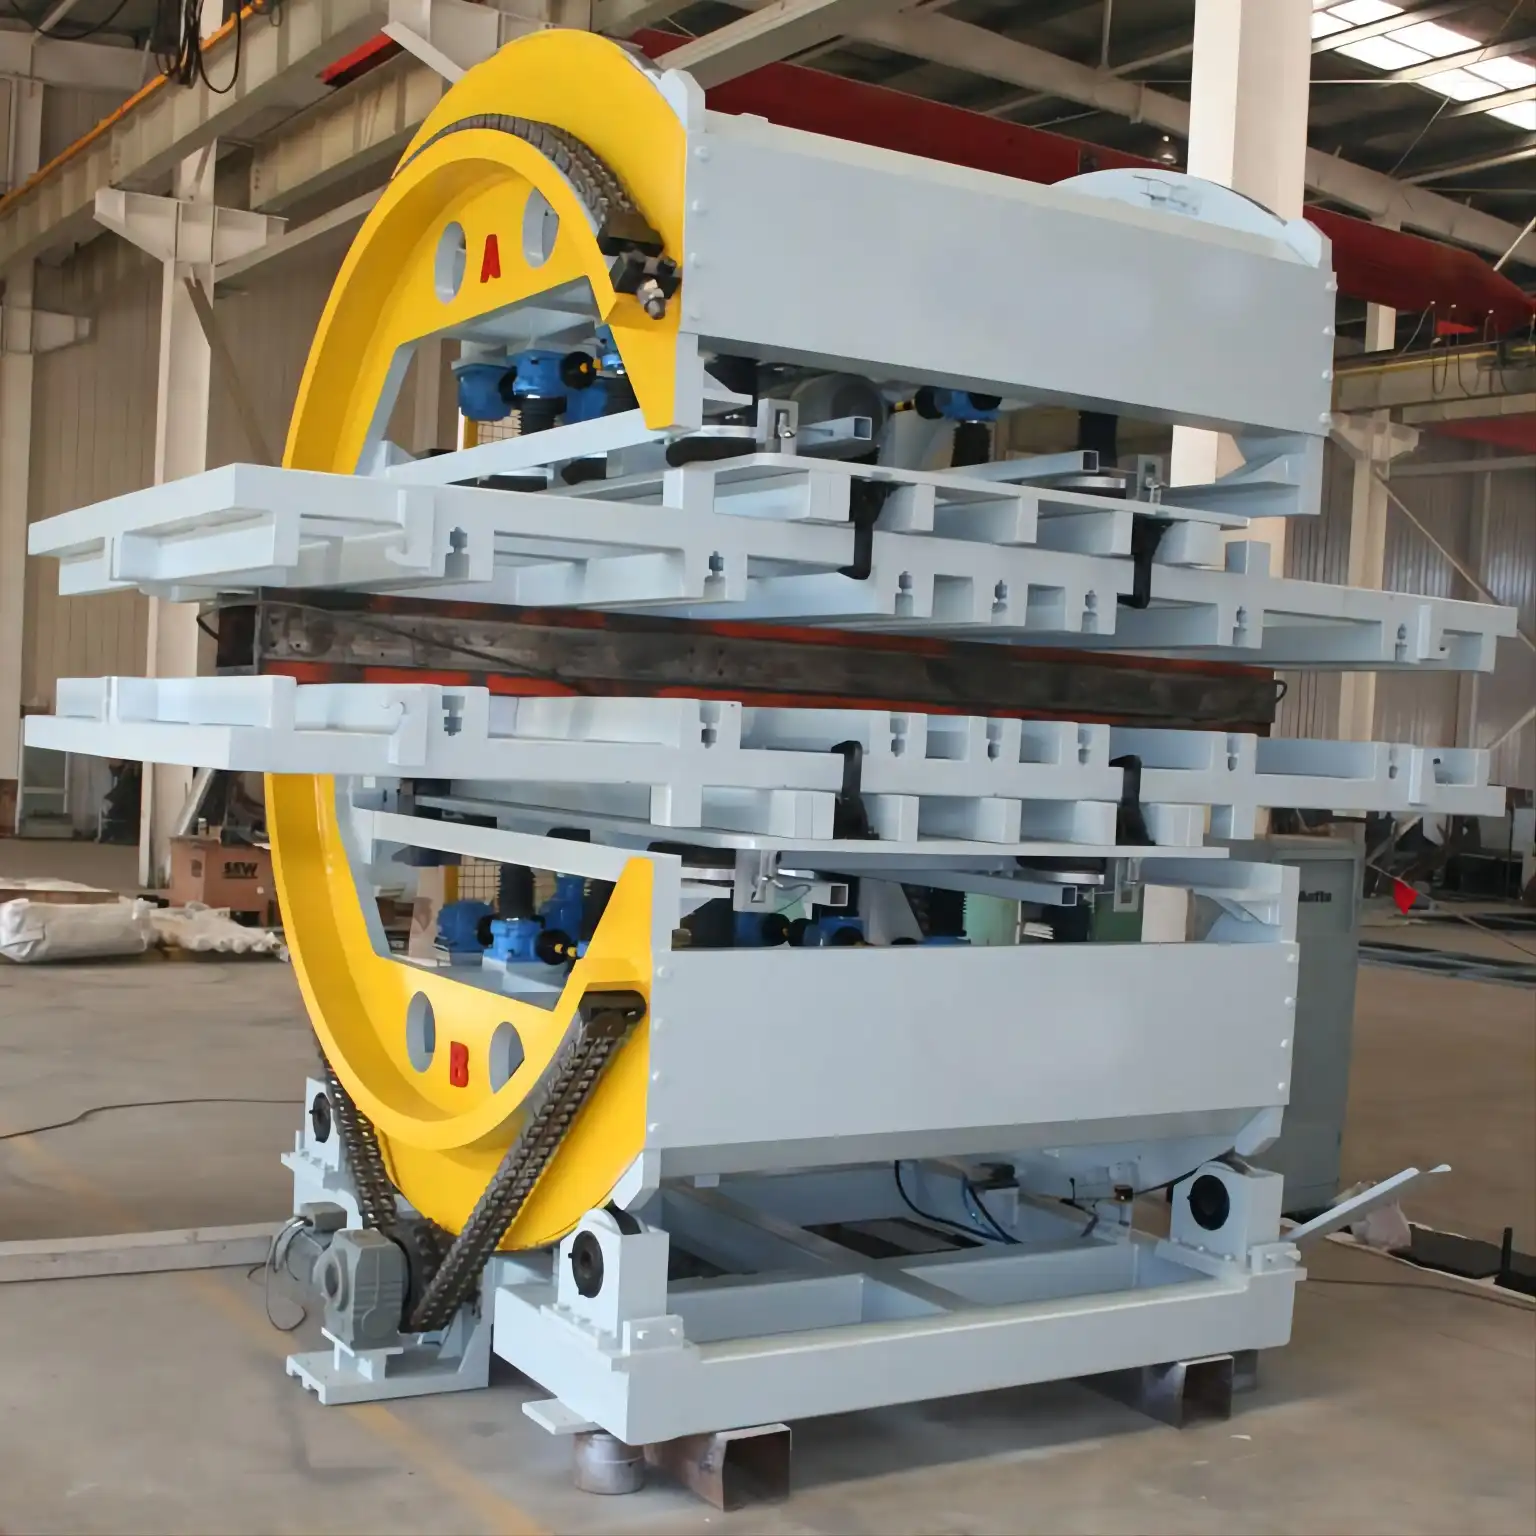
To dive deeper, let's break down these failure modes. A proactive manager doesn't just replace seals; they diagnose the environment that killed them.
🔍 The Top 5 Enemies of Your Hydraulic Seals
| Enemy | How It Attacks | Visible Signs | Preventive Action |
|---|---|---|---|
| Contamination | Dirt, metal shavings, and grit act like sandpaper on seal lips and cylinder walls. | Cloudy fluid, scratched cylinder rods, frequent filter changes. | Use high-quality filters, maintain clean fill practices, install rod wipers. |
| Heat Degradation | High operating temperatures (>180°F/82°C) cause seals to harden, crack, and lose elasticity. | Discolored (black/brown) fluid, burnt smell, system runs hot. | Ensure proper cooler function, check for relief valve issues, use high-temp seal compounds. |
| Pressure Spikes | Sudden, extreme pressure can force the seal material into the clearance gap, shearing it (extrusion). | Seal fragments in fluid, leaks under high load only. | Install shock absorbers, check for faulty pumps/valves, use anti-extrusion rings. |
| Chemical Attack | Incompatible hydraulic fluid or additives cause seals to swell, shrink, or become mushy. | Spongy or misshapen seals, fluid discoloration, rapid deterioration. | Always use fluid recommended by the equipment manufacturer (like Fengda or Wuxi Buhler) and verify seal material compatibility. |
| Improper Installation | Nicking a seal during fitting, rolling a lip seal, or incorrect sizing creates an immediate leak path. | Leakage immediately after service, cut or twisted seal upon inspection. | Train technicians, use proper tools (installation sleeves), lubricate seals before fitting. |
For someone like Michael, whose factory environment is filled with metal dust and operates under high cycles, contamination and heat are the primary concerns. A simple habit like always wiping the hydraulic rod clean before it retracts into the cylinder can double a seal's life. Furthermore, not all seals are created equal. When sourcing replacement parts or a new machine, opting for suppliers who use high-grade polyurethane or fluorocarbon seals—common in durable brands like Fengda—can provide much better resistance to harsh conditions compared to standard nitrile rubber.
The key insight is this: A failed seal is a report card on your system's health. It tells you about fluid cleanliness, operating habits, and installation quality. By reading this report, you move from reactive fixing to proactive management.
2. What is a Proactive Seal Inspection and Maintenance Routine?
Waiting for a leak to appear is a costly strategy. In a busy metal processing plant, downtime is measured in lost tons and missed deadlines. A proactive maintenance routine shifts your approach from "fix it when it breaks" to "prevent it from breaking." This is the mindset of a manager focused on Overall Equipment Effectiveness (OEE). It's about scheduling maintenance instead of emergencies.
A proactive seal maintenance routine for hydraulic upenders involves scheduled visual inspections, fluid analysis, and component checks. This includes examining cylinder rods for scratches, checking for external leaks, monitoring fluid temperature and level, and taking periodic fluid samples for contamination analysis. A documented schedule ensures these checks are performed consistently, catching small issues before they become major failures. (proactive hydraulic maintenance schedule, coil tilter inspection checklist)

Implementing this routine doesn't require a full-time engineer. It requires a clear, simple system. Here is a structured approach you can adapt for your shift supervisors.
📅 Weekly & Monthly Upender Seal Health Check
Daily/Shift Checks (Operator Level):
- Visual Leak Scan: Walk around the upender. Look for fresh oil drips, wet spots, or accumulated dirt (which often traps oil).
- Fluid Level: Check the reservoir sight glass. A dropping level without an obvious leak can indicate an internal seal failure.
- Listen & Feel: Unusual noises (whining, knocking) or excessive heat from cylinders/hoses can indicate problems.
Weekly Checks (Maintenance Tech):
- Cylinder Rod Inspection: With the rod fully extended, inspect its entire surface.
- Look for: Scratches, pitting, rust, or dents. A mirror finish is ideal.
- Feel for: Nicks or grooves you can catch a fingernail on.
- Action: Clean the rod with a lint-free cloth. Minor corrosion can be polished smooth. Deep damage means the rod needs replacement or re-chroming.
- Connection Check: Tighten all hose fittings, pipe connections, and valve manifold bolts to the manufacturer's specification (use a torque wrench).
Monthly/Quarterly Tasks:
- Fluid Sample Analysis: Send a small sample of your hydraulic fluid to a lab. The report will show particle counts, water content, and viscosity. This is like a blood test for your machine.
- Filter Change: Don't just change filters on a schedule; change them based on pressure differential gauges or fluid analysis results.
- Seal Area Cleanliness: Clean the area around cylinder glands and valve stacks. Built-up grime hides leaks and attracts more contaminants.
Creating a simple log sheet for these tasks ensures they get done. The cost of a fluid analysis or a few hours of technician time is insignificant compared to the cost of a blown seal that stops the packaging line for 8 hours. This disciplined approach is what separates facilities that constantly fight fires from those that run like clockwork.
3. How to Choose the Right Seals and Hydraulic Fluid?
Facing a seal replacement, you might be tempted to grab the cheapest O-ring from the local supplier. This is a classic false economy. The seal and the fluid it lives in are a symbiotic system. Choosing the wrong combination guarantees a short, problematic life. For a manager sourcing parts for critical equipment, understanding specifications is non-negotiable. It's about matching the component to the actual working environment of your factory floor.
Selecting the correct seals and hydraulic fluid requires matching material properties to your operating conditions. Key factors include the fluid type (mineral oil, synthetic, water-glycol), maximum system temperature and pressure, presence of abrasive contaminants, and required resistance to wear and extrusion. Always consult the original equipment manufacturer's specifications and consider upgrading to higher-performance materials for demanding applications. (selecting hydraulic seal material, compatible fluid for upenders)
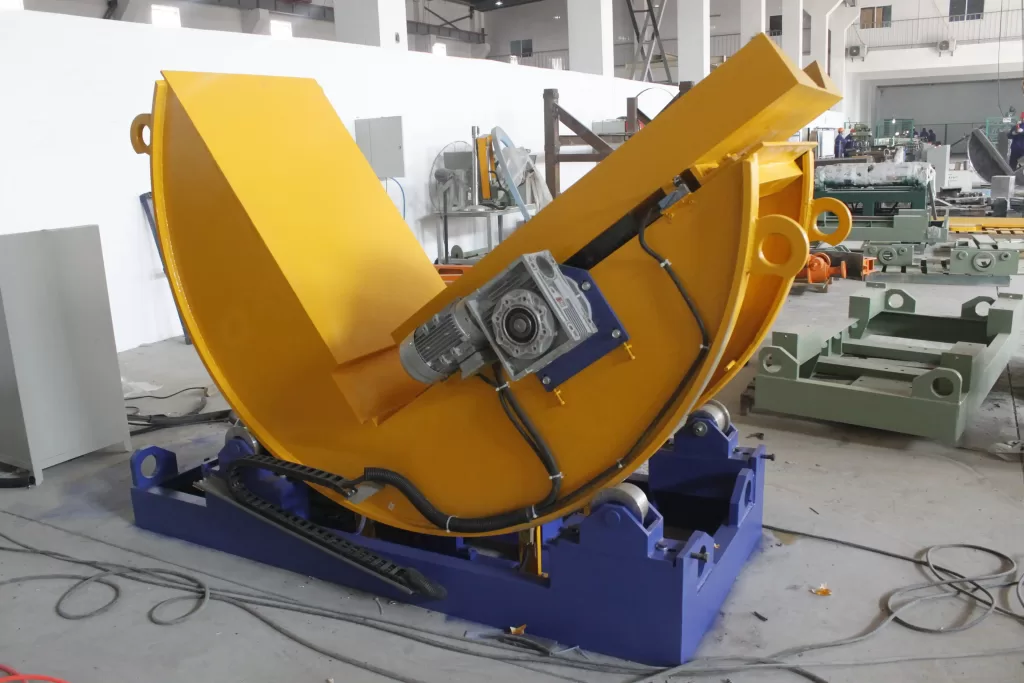
This choice is a technical decision with direct business impact. Let's make it simpler by looking at the most common options and where they fit best.
🧪 Seal Material & Fluid Compatibility Guide
Think of the seal as a gatekeeper. It must withstand the environment without degrading.
-
Nitrile (Buna-N) Rubber: The most common, cost-effective option.
- ✅ Good for: Standard mineral oils, lower pressures, and temperatures up to 250°F (120°C).
- ❌ Poor for: Phosphate ester fluids (Skydrol), ketones, ozone, or weather exposure.
- Best for: General-purpose upenders in controlled indoor environments.
-
Polyurethane (AU, EU): Excellent for durability and abrasion resistance.
- ✅ Good for: High-pressure applications, excellent wear resistance, mineral oils, and water-glycol fluids.
- ❌ Poor for: High temperatures (can hydrolyze in hot water), some solvents.
- Best for: The harsh, gritty conditions of a steel mill or metal processing plant. This is often a key material used by quality-focused manufacturers.
-
Fluorocarbon (Viton, FKM): The premium choice for harsh conditions.
- ✅ Good for: High temperatures (up to 400°F/200°C), a wide range of chemicals and fluids, excellent compression set resistance.
- ❌ Poor for: Ketones, amines, and skydrol fluids. Higher cost.
- Best for: Upenders located near heat-treating lines or in plants with wide temperature swings.
The Fluid Itself: The hydraulic fluid is not just a power transfer medium; it's a lubricant and coolant for your seals.
- Viscosity Grade (VG): Using oil that's too thin (low VG) leads to increased internal leakage and wear. Oil that's too thick (high VG) causes poor cold starts and pump cavitation. Stick to the ISO VG specified in your manual.
- Additive Package: Anti-wear (AW) additives are crucial. They form a protective layer on metal surfaces, reducing wear on pumps, valves, and—indirectly—seals.
My strong recommendation: When dealing with critical production equipment like a coil upender, never downgrade on seal quality. If your OEM uses polyurethane, replace it with polyurethane. For the fluid, stick with a reputable brand and change it at recommended intervals. Investing in the right materials from the start, much like choosing a reliable Coil Upender from a knowledgeable partner, prevents a cascade of future problems and downtime.
4. What Are the Step-by-Step Procedures for Seal Replacement?
When a seal finally needs changing, a haphazard approach can lead to immediate re-failure or damage to expensive components like the cylinder barrel or rod. A proper, methodical procedure is the difference between a repair that lasts for years and one that leaks again next week. This is where the skill of your maintenance team directly impacts equipment reliability. A clear, documented procedure ensures quality and consistency.
The step-by-step procedure for replacing hydraulic seals involves system depressurization, disassembly, thorough cleaning, careful installation of new seals with proper tools, and systematic reassembly followed by testing. Critical steps include locking out the energy source, documenting seal orientation, lubricating seals during installation, and performing a pressure test before returning the upender to full service. (hydraulic cylinder seal replacement steps, upender repair procedure)
Let's walk through a generic procedure for replacing a rod seal on a hydraulic cylinder. Always defer to your specific machine's service manual.
🔧 Seal Replacement Protocol: A Safe & Effective Method
Phase 1: Preparation & Safety (MOST IMPORTANT)
- Lock Out, Tag Out (LOTO): Isolate the upender from all power sources (electrical and hydraulic). Relieve all hydraulic pressure by operating the controls after shutdown. Lock the main power disconnect.
- Gather Tools & Parts: Have the correct seal kit, clean lint-free rags, plastic bags, a soft-jaw vise, installation tools (seal picks, socket for gland nut), and the correct hydraulic fluid on hand.
- Clean the Work Area: Wipe down the cylinder and surrounding area to prevent contamination during disassembly.
Phase 2: Disassembly & Inspection
- Remove the Cylinder: Disconnect hydraulic hoses (cap them immediately!) and mounting pins. Carefully move the cylinder to a clean workbench.
- Disassemble the Gland: Remove the retaining ring or gland nut. Carefully pull the gland assembly out of the cylinder tube.
- Remove Old Seals: Use a seal pick or small screwdriver. Be extremely careful not to scratch the sealing surfaces of the gland or the rod. Note the order and orientation of every seal, backup ring, and wear ring. Take a photo!
- Inspect All Components: Examine the cylinder rod (as per the inspection routine), the inside of the barrel, and the gland bore for scoring, pitting, or corrosion. If the rod is damaged, replacing the seal is a waste of time—it will fail again quickly.
Phase 3: Cleaning & Reassembly
- Thorough Cleaning: Clean every metal component with a non-linting cloth and a compatible solvent. Ensure they are completely dry and free of debris.
- Install New Seals:
- Lubricate all new seals with the clean hydraulic fluid you will use in the system.
- Use installation sleeves or tape over threaded ends to protect seal lips as they slide over sharp edges.
- Install seals by hand only, gently working them into place. Never force them with a sharp tool.
- Ensure all seals face the correct direction (pressure side). Backup rings usually have a sharp edge that faces the pressure.
- Reassemble: Carefully insert the rod into the gland, then insert the gland assembly back into the cylinder barrel. Tighten the gland nut or install the retaining ring to the specified torque.
Phase 4: Testing & Commissioning
- Reinstall the Cylinder on the upender and reconnect hoses.
- Bleed the System: With the power still locked out, slightly loosen the hydraulic connection at the cylinder's highest point. Slowly pressurize the system (if possible via manual pump) to allow air to escape, then retighten.
- Perform a Low-Pressure Test: Re-energize the system and slowly cycle the cylinder several times at low pressure. Watch for leaks.
- Full Operational Test: Gradually increase to full operating pressure and cycle the upender through its full range of motion. Monitor for leaks, smooth operation, and proper function.
Following these steps meticulously turns a repair from a gamble into a guaranteed success. It builds confidence in your equipment and your team.
Conclusion
A leak-free hydraulic upender is the result of knowledge, quality parts, and disciplined care. By understanding failure causes, implementing proactive checks, choosing the right materials, and following precise repair procedures, you secure the reliability of your critical material handling equipment. Protect your productivity by investing in proper maintenance for your Coil Upender.