# Preparing Your Facility for Mold Upender Installation: A Checklist
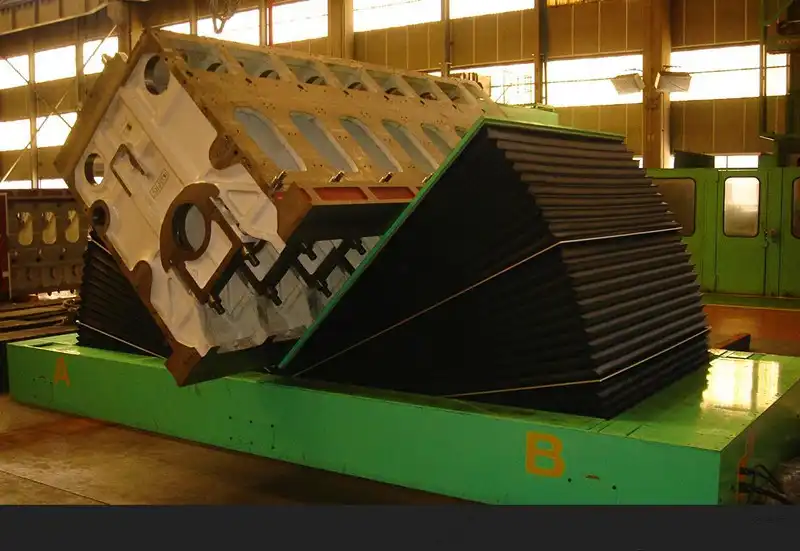
To prepare your facility for mold upender installation, prioritize sufficient space and clear pathways, confirm floor load capacity, ensure readily available power and utilities, comprehensively train personnel on safe operating procedures, and establish a routine maintenance schedule for both the upender and the molds it handles. Thorough planning and diligent execution are absolutely essential for ensuring safe and efficient mold handling operations, ultimately minimizing downtime and significantly improving overall productivity.
Introduction: Setting the Stage for Seamless Mold Handling
In the demanding world of injection molding, efficiency and safety are paramount. Much like preparing a mold for installation into an injection molding machine requires a step-by-step approach, so too does preparing your facility for the arrival and operation of a mold upender. While seemingly straightforward, neglecting facility preparation can lead to significant headaches down the line, impacting everything from installation timelines to long-term operational safety and efficiency.
Think of it like this: a detailed checklist is crucial for mold remediation to prevent further issues, as highlighted by environmental guidelines. Similarly, a proactive checklist for mold upender installation prevents operational “contamination” – in this case, workflow disruptions, safety hazards, and potential damage to valuable molds and equipment. Just as proper mold maintenance extends the lifespan of your tooling, meticulous facility preparation ensures the smooth integration and optimal performance of your new mold upender.
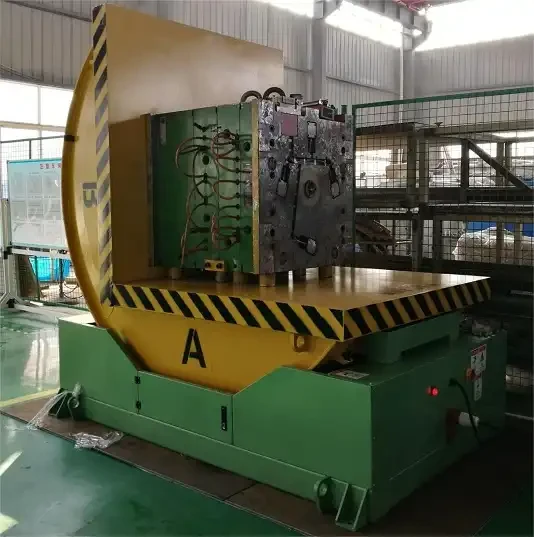
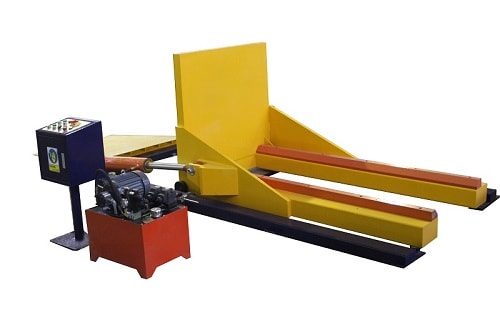
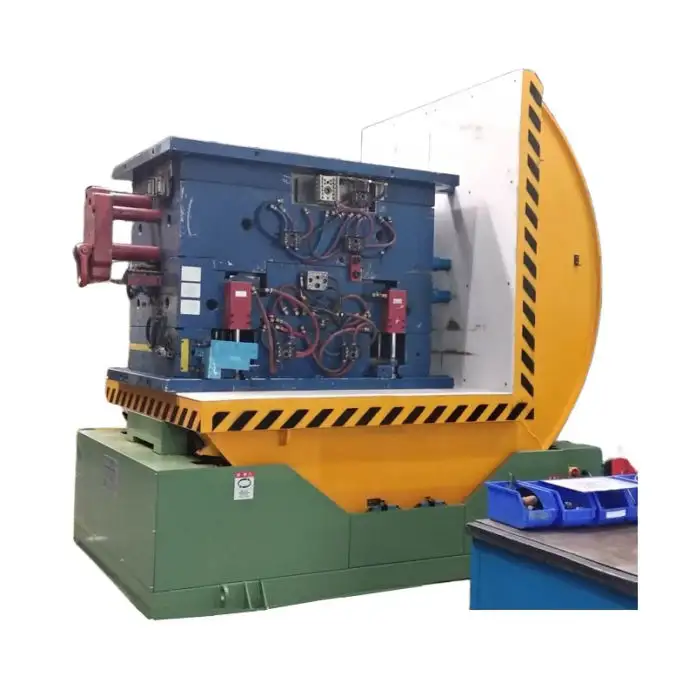
A mold upender is an invaluable asset in modern molding facilities. It streamlines the process of rotating and positioning heavy molds, enhancing safety and reducing the physical strain on personnel. However, to truly reap these benefits, a methodical approach to facility preparation is not just recommended – it's essential. This article provides a comprehensive checklist to guide you through the necessary steps, ensuring your facility is fully equipped to welcome and effectively utilize a mold upender.
Pre-Installation Facility Audit: Laying the Foundation for Success
Before even considering the specifics of the mold upender itself, a thorough audit of your facility is the first crucial step. This involves assessing the physical space, infrastructure, and existing protocols to identify any potential roadblocks and ensure seamless integration.
1. Confirm Available Space and Pathways: The Freedom to Maneuver
Checklist Item 1: Measure and Verify Installation Area Dimensions.
- Action: Accurately measure the dimensions of the designated installation area. Compare these measurements against the mold upender manufacturer's specifications, ensuring ample space for the equipment itself, its operational range (rotation, lifting), and safe clearance for operators and other equipment.
- Rationale: Restricted space can hinder installation, limit operational flexibility, and create safety hazards. Adequate space allows for unhindered movement of the upender and the molds it handles, promoting efficient workflow and safe operation.
Checklist Item 2: Clear Pathways and Access Routes. - Action: Inspect and clear all pathways leading to the installation area from receiving docks, mold storage, and injection molding machines. Remove any obstacles such as equipment, materials, or obstructions. Ensure doorways are wide and high enough to accommodate the upender’s dimensions during delivery and potential relocation.
- Rationale: Unobstructed pathways are vital for smooth delivery and installation of the upender. Furthermore, clear routes between mold storage, maintenance areas, and injection molding machines are critical for efficient mold changes and overall workflow once the upender is operational. Just as a clear path is important for transporting molds within the facility, as emphasized in injection mold transport guidelines, ease of movement is key to productivity.
2. Floor Load Capacity: Supporting the Weight
Checklist Item 3: Assess Floor Load Capacity.
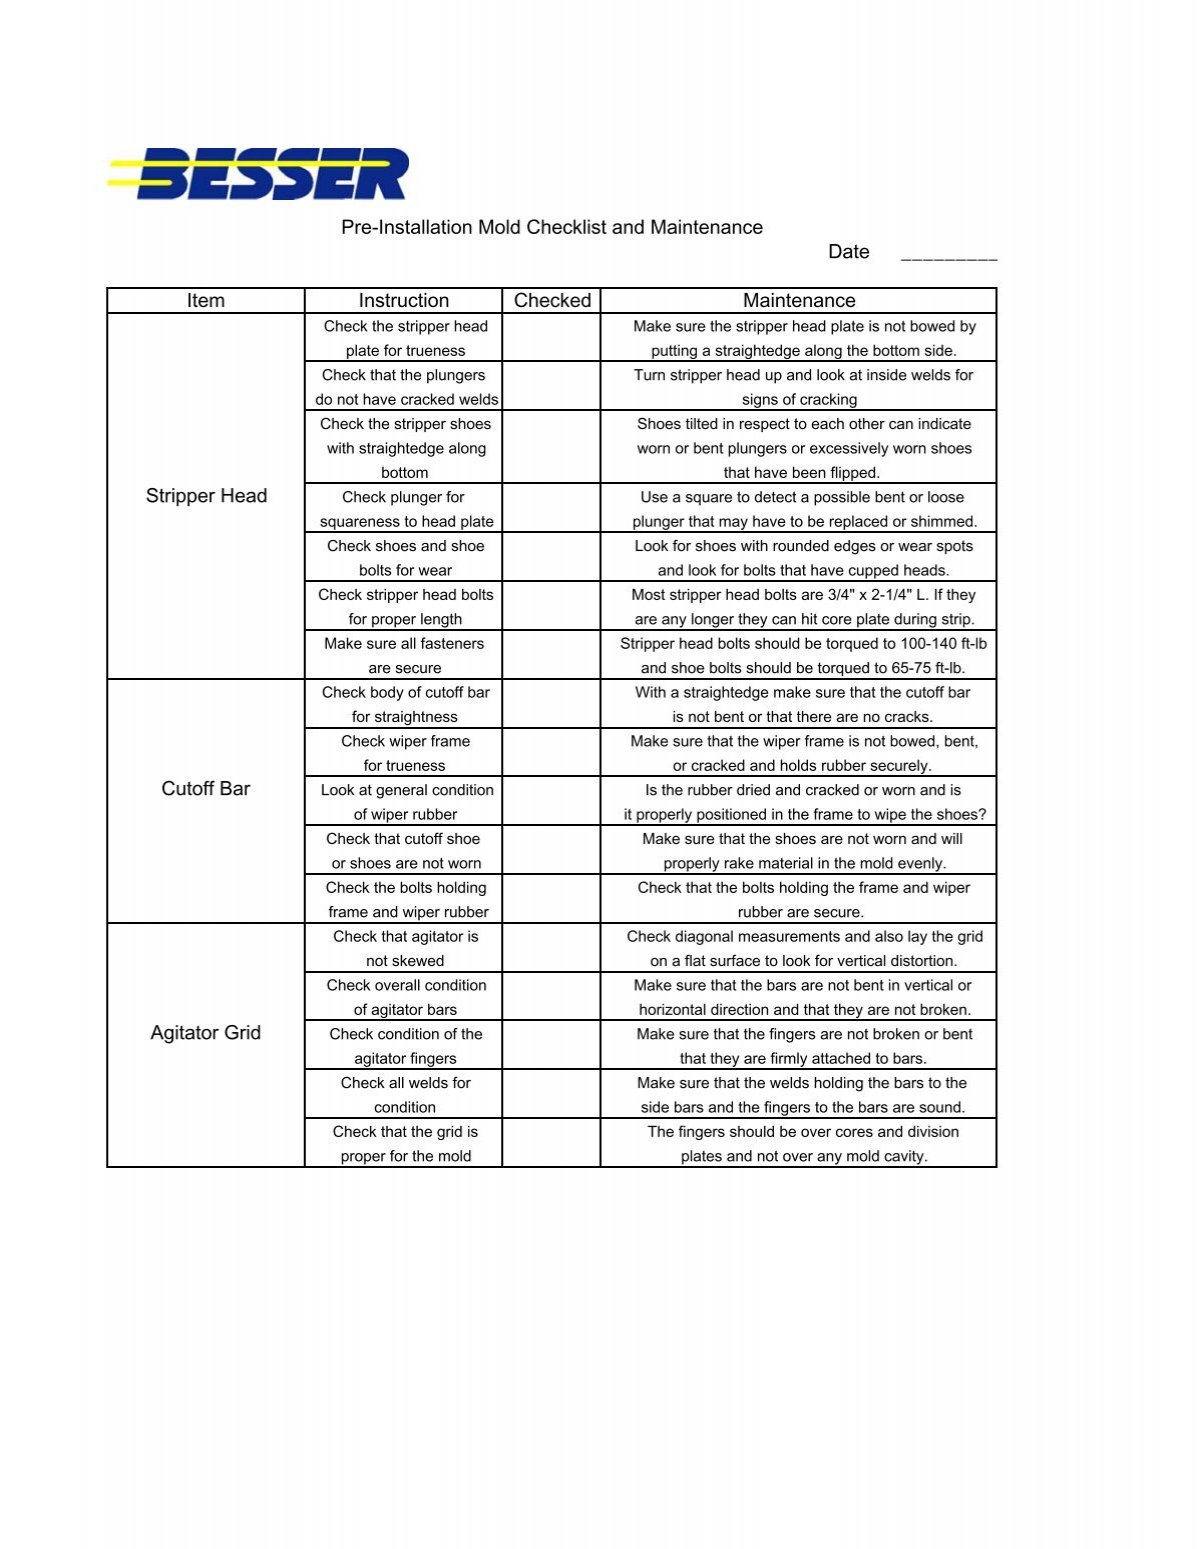
- Action: Consult facility blueprints or structural engineers to verify the floor load capacity of the installation area. Compare this capacity to the combined weight of the mold upender itself and the heaviest molds it will be handling, plus a safety margin.
- Rationale: Overloading the floor can have catastrophic consequences, leading to structural damage and safety risks. Ensuring adequate floor load capacity is non-negotiable for safe and stable upender operation. Just as checking eyebolt and mold strap integrity for safe mold transport is essential, confirming floor strength underpins the entire operation.
Checklist Item 4: Floor Levelness and Condition. - Action: Inspect the floor surface for levelness and any signs of damage like cracks, uneven surfaces, or degradation. Address any issues before installation to ensure a stable and even base for the upender.
- Rationale: An uneven or damaged floor can affect the stability and performance of the mold upender, potentially leading to malfunctions, vibrations, or safety hazards. A level and sound floor provides a solid foundation for smooth and reliable operation.
Utility and Infrastructure Preparation: Powering Up Efficiency
A mold upender is not merely a piece of standalone equipment; it requires integration with your facility’s utilities to function effectively. Properly preparing these utilities is crucial for a seamless and timely installation.
3. Electrical Power Supply: Meeting the Demand
Checklist Item 5: Verify Electrical Power Availability.
- Action: Confirm the electrical power requirements of the mold upender (voltage, phase, amperage) from the manufacturer's specifications. Ensure your facility’s electrical system in the installation area can meet these requirements and has sufficient capacity. Install new power outlets or upgrade existing infrastructure if necessary.
- Rationale: Insufficient power supply will prevent the upender from operating correctly or could damage electrical components. Adequate and stable power is essential for reliable and consistent performance.
Checklist Item 6: Dedicated Circuit and Overload Protection. - Action: Ideally, the mold upender should be on a dedicated electrical circuit with appropriate overload protection (circuit breaker or fuse). This prevents overloading other circuits and ensures the upender is protected from power surges or fluctuations.
- Rationale: A dedicated circuit enhances safety and minimizes the risk of electrical issues affecting other equipment. Overload protection safeguards the upender from electrical damage, ensuring longevity and safe operation.
4. Compressed Air (If Applicable): Pneumatic Power
Checklist Item 7: Compressed Air Supply (if Pneumatic).
- Action: If the mold upender is pneumatically operated, verify the required compressed air pressure and volume from the manufacturer’s specifications. Ensure your facility’s compressed air system can provide a consistent and sufficient supply to the installation area. Install air lines and connections if necessary.
- Rationale: Insufficient or inconsistent air pressure will hinder the performance of pneumatic upenders. A reliable compressed air supply is crucial for smooth and efficient operation.
Checklist Item 8: Air Quality and Filtration (if Pneumatic). - Action: For pneumatic upenders, consider the quality of your compressed air. If necessary, install air filters and dryers to remove moisture and contaminants from the air supply to protect the upender’s pneumatic components and ensure optimal performance.
- Rationale: Contaminated compressed air can damage pneumatic equipment, leading to premature wear and malfunctions. Clean and dry air extends the lifespan and improves the reliability of pneumatic systems.
Personnel Preparation: The Human Element
Even the most advanced equipment is only as effective as the personnel who operate and maintain it. Comprehensive training and clear safety protocols are essential for maximizing the benefits of a mold upender and ensuring a safe working environment.
5. Safety Protocols and Training: Operating with Confidence
Checklist Item 9: Develop Safety Procedures.
- Action: Develop comprehensive safety procedures specific to the operation of the mold upender, encompassing everything from pre-operation checks to emergency shutdown protocols. Incorporate best practices for handling heavy molds safely, drawing from established safety guidelines for mold handling.
- Rationale: Well-defined safety procedures are critical for preventing accidents and injuries. They provide a framework for safe operation and ensure all personnel understand the potential hazards and how to mitigate them.
Checklist Item 10: Personnel Training. - Action: Provide thorough training to all personnel who will be operating or working around the mold upender. This training should cover safe operation procedures, emergency protocols, basic maintenance tasks, and proper mold handling techniques. Recurring training, as recommended for mold handlers in general, will reinforce safe practices.
- Rationale: Competent and well-trained operators are the cornerstone of safe and efficient upender operation. Proper training minimizes the risk of human error, reduces accidents, and improves overall productivity.
Checklist Item 11: Personal Protective Equipment (PPE).

- Action: Determine and provide the necessary PPE for personnel working with the mold upender, including safety shoes, gloves, eye protection, and potentially hard hats or other specialized gear depending on your specific risk assessment.
- Rationale: PPE provides a crucial layer of protection against potential hazards in the workplace, minimizing the risk of injuries.
Operational Readiness: Ensuring Long-Term Performance
Facility preparation isn't just about the initial installation; it's about creating an environment that supports the long-term, efficient, and safe operation of the mold upender. This includes planning for maintenance and integrating the upender into your overall workflow.
6. Maintenance Area and Tools: Keeping Things Running Smoothly
Checklist Item 12: Designate a Mold Maintenance Area.
- Action: Establish a designated area near the mold upender for routine mold inspection, cleaning, and minor maintenance. This area should be equipped with appropriate lighting, work surfaces, and tools. Just as a maintenance check is recommended for molds before storage, this proactive approach extends to molds in active use.
- Rationale: A dedicated maintenance area promotes proactive mold care, ensuring molds are kept in optimal condition for efficient production and extended lifespan.
Checklist Item 13: Tool Accessibility. - Action: Ensure that all necessary tools for mold handling and basic upender maintenance are readily accessible near the installation area. This might include wrenches, cleaning supplies, lubricants, and safety straps. A dedicated mold change cart, as recommended to speed up mold setups, can be valuable here.
- Rationale: Having tools readily available minimizes downtime during mold changes and routine maintenance, contributing to overall operational efficiency.
7. Environmental Considerations: Optimizing the Workplace
Checklist Item 14: Temperature and Humidity Control.
- Action: While not as critical as in mold remediation for fungal growth, maintaining reasonable temperature and humidity levels in the upender operating area can contribute to the longevity and reliable performance of both the upender and the molds, especially precision tooling. Consider the environmental recommendations for preventing condensation and moisture issues within a facility.
- Rationale: Extreme temperature or humidity fluctuations can negatively impact equipment performance and potentially accelerate wear and tear on molds.
Checklist Item 15: Cleanliness and Dust Control.
- Action: Implement measures to maintain cleanliness and control dust levels in the upender operating area. Regular cleaning schedules can prevent the accumulation of debris that could interfere with the upender’s operation or contaminate molds.
- Rationale: A clean operating environment minimizes the risk of contamination, promotes equipment longevity, and enhances overall workplace safety.
8. Routine Maintenance and Inspection: Proactive Care
Checklist Item 16: Establish a Maintenance Schedule for the Upender.
- Action: Develop a routine maintenance schedule for the mold upender based on the manufacturer’s recommendations, encompassing inspections, lubrication, and preventative maintenance tasks.
- Rationale: Regular maintenance is crucial for ensuring the long-term reliability and safe operation of the mold upender. Proactive maintenance prevents unexpected breakdowns and costly repairs.
Checklist Item 17: Integrate Mold Inspection into Workflow. - Action: Incorporate routine mold inspections into your workflow, ideally before and after each mold change facilitated by the upender. This aligns with the principle of performing maintenance checks on molds routinely.
- Rationale: Regular mold inspections help identify potential issues early, allowing for timely maintenance and preventing costly damage or production disruptions.
Checklist Item 18: Periodic Review of Procedures. - Action: Periodically review and update your mold upender operation and maintenance procedures based on experience, changes in equipment, or evolving safety standards.
- Rationale: Continuous improvement and adaptation are key to maintaining a safe, efficient, and optimized mold handling process.
Conclusion: Investing in Preparation, Securing Future Success
Preparing your facility for mold upender installation is an investment in efficiency, safety, and the long-term success of your injection molding operations. By meticulously following this checklist, you not only ensure a smooth and trouble-free installation process but also lay the groundwork for years of reliable and productive mold handling. Just as proactive mold prevention saves costs, meticulous facility preparation avoids future operational headaches and maximizes the return on your investment in a mold upender. Embrace this proactive approach, and you’ll be well-positioned to leverage the full potential of your new equipment and enhance your overall molding capabilities.