Replacing hydraulic components in a mold upender involves several key steps, including preparation, system diagnosis, component removal, new component installation, system testing, and preventative maintenance. This guide provides a detailed, step-by-step approach to ensure a safe and effective repair process, minimizing downtime and maximizing operational efficiency.
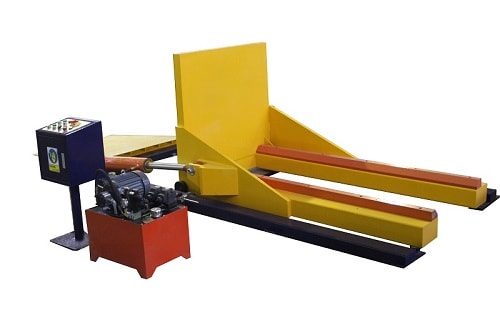
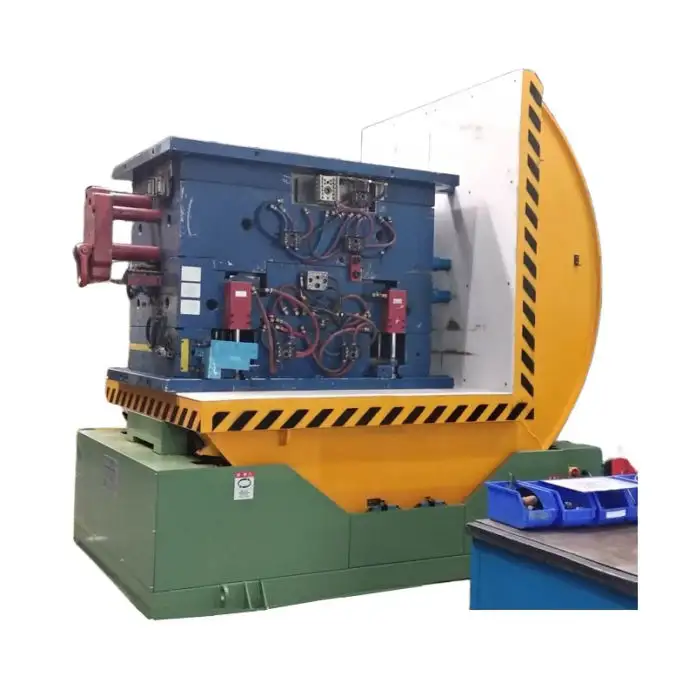
Hydraulic mold upenders are critical pieces of equipment in manufacturing facilities, particularly in industries dealing with heavy molds and dies. These machines are designed to safely and efficiently rotate and position molds, facilitating easier access for maintenance, repair, and component changes. The hydraulic system is the heart of a mold upender, providing the power and control necessary for its heavy-lifting and precise movements. When hydraulic components fail, it can lead to significant downtime, impacting production schedules and potentially creating safety hazards. This comprehensive guide outlines a step-by-step process for replacing hydraulic components in a mold upender, ensuring a smooth and efficient repair.
Understanding the Importance of Hydraulic System Maintenance
Before diving into the replacement process, it's crucial to understand why hydraulic system maintenance is so vital for mold upenders. Hydraulic systems rely on pressurized fluid to transmit power. Over time, components can wear out, seals can degrade, and fluid can become contaminated. Neglecting maintenance can lead to several issues:
- Reduced Efficiency: Worn pumps and valves can decrease the system's efficiency, requiring more energy to perform the same tasks and slowing down operations.
- Increased Downtime: Component failures can cause sudden and unexpected breakdowns, leading to costly downtime and production delays.
- Safety Hazards: Leaks, burst hoses, or uncontrolled movements due to system malfunctions can create dangerous situations for operators and maintenance personnel.
- Costly Repairs: Small issues, if ignored, can escalate into major failures, resulting in more extensive and expensive repairs.
Regular inspection and timely replacement of worn or damaged hydraulic components are therefore essential for maintaining the safe and efficient operation of mold upenders.Step-by-Step Guide to Replacing Hydraulic Components
This guide breaks down the component replacement process into manageable steps, focusing on safety and best practices.
Step 1: Preparation and Safety First
Safety is paramount when working with hydraulic systems. Pressureized hydraulic fluid can be extremely dangerous. Before starting any work, ensure the following:
- De-energize the System: Completely shut down and lockout/tagout the mold upender. This ensures the machine cannot be accidentally activated during maintenance. Follow your facility’s lockout/tagout procedures rigorously.
- Relieve Hydraulic Pressure: Crucially important! Locate the pressure relief valves in the hydraulic system and carefully relieve all pressure. Refer to the mold upender's manual for the exact location and procedure. Even after de-energizing the pump, residual pressure may remain in the lines and cylinders.
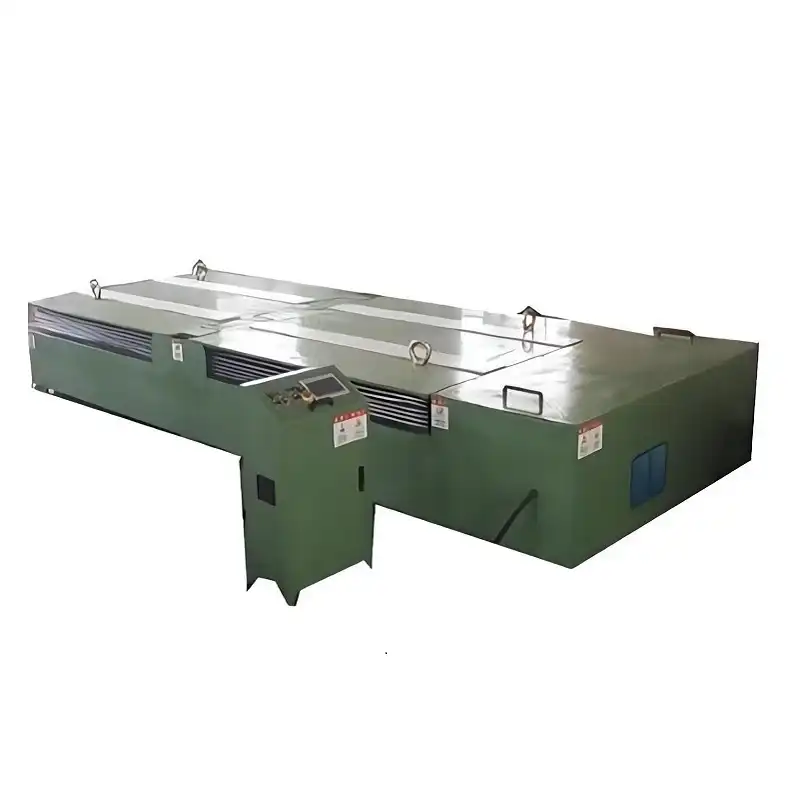
- Gather Necessary Tools and Materials: Collect all the tools you will need for the job. This typically includes:
- Wrenches (various sizes, including torque wrenches)
- Socket set
- Screwdrivers (flathead and Phillips)
- Allen keys
- Hydraulic hose wrenches (if replacing hoses)
- Seal pick and installer tools
- Clean rags and drip pans
- New hydraulic fluid (ensure it's the correct type specified by the manufacturer)
- Replacement hydraulic component(s) - ensure compatibility and correct specifications.
- Safety glasses, gloves, and safety shoes.
- Manual for the mold upender and hydraulic system.
- Clean Work Area: Ensure the area around the mold upender and hydraulic unit is clean and free of debris. This prevents contamination of the hydraulic system during component replacement.
- Inspect for Obvious Issues: Before disassembly, visually inspect the hydraulic system for obvious leaks, damaged hoses, or worn components. This can help pinpoint the problem area and confirm the necessary replacements.
Step 2: Diagnosing the Problem
Often, the need for component replacement arises from a known issue. However, if the problem is not immediately apparent, a systematic diagnosis is necessary.
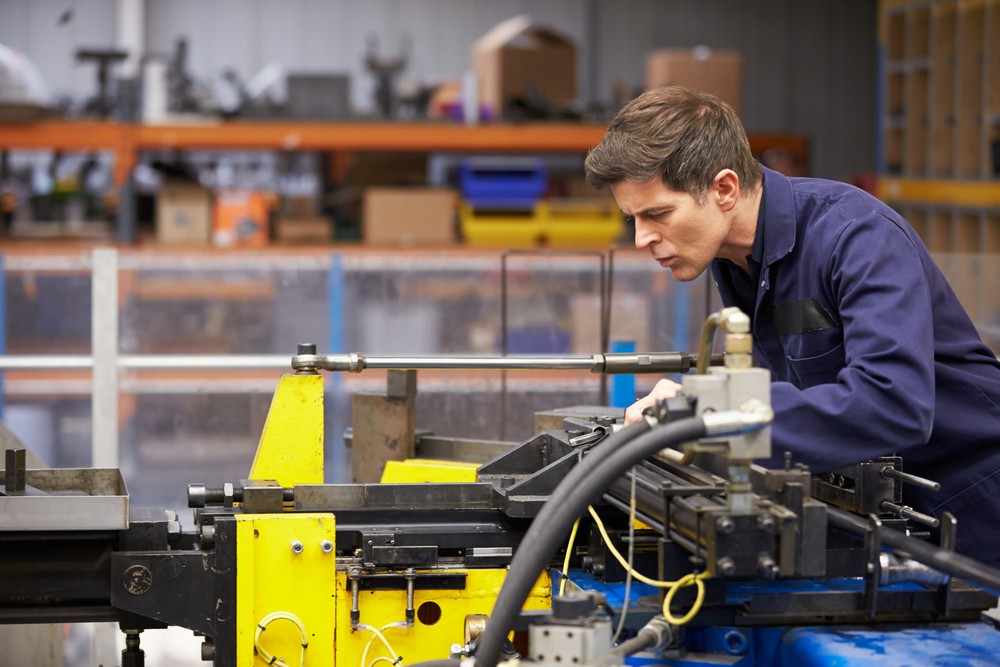
- Review Operational Issues: Understand the symptoms the mold upender was exhibiting. Was it slow, jerky, noisy, or completely non-functional? These symptoms can provide clues to the faulty component.
- Pressure Gauge Checks: If the upender has pressure gauges, check the pressure readings at different points in the hydraulic system. Abnormal readings can indicate pump, valve, or cylinder problems.
- Leak Detection: Carefully inspect for leaks around fittings, hoses, cylinders, and valves. Leaks not only indicate component wear but also reduce system pressure and efficiency.
- Component-Specific Checks:
- Hydraulic Pump: Listen for unusual noises (whining, grinding). Check for case drain leakage. A failing pump may not generate sufficient pressure.
- Hydraulic Cylinders: Inspect for external leaks around rod seals. Check for internal leaks (cylinder drift) if possible. Damage or scoring on the cylinder rod can also indicate a need for replacement.
- Hydraulic Valves (Directional Control Valves, Relief Valves, Flow Control Valves): Valves can become stuck, leak internally, or fail to switch properly. Testing may require specialized equipment or procedures if simply observing external leaks is not conclusive.
- Hoses and Fittings: Inspect hoses for cracks, bulges, or kinks. Check fittings for leaks and ensure they are properly tightened.
Step 3: Removing the Faulty Component
Once the faulty component is identified, proceed with removal.
- Isolate the Component: If replacing a valve or cylinder, carefully disconnect the hydraulic lines connected to it. Use drip pans to catch any fluid spillage. Cap or plug open lines and ports immediately to prevent contamination. Label hoses and fittings as you disconnect them to ensure correct reassembly. Taking photos can also be very helpful.
- Drain Fluid (If Necessary): Depending on the component and its location, it might be necessary to drain a small amount of hydraulic fluid from that section of the system to minimize spillage.
- Disconnect Mounting Hardware: Remove bolts, screws, or clamps securing the component to the mold upender frame or manifold.
- Carefully Remove the Component: Lift or maneuver the component out of its position. For heavier components, use appropriate lifting equipment or get assistance to avoid injury and damage to other parts.
- Inspect Removed Component: After removing the component, examine it closely for visible signs of wear, damage, or failure. This can further confirm the diagnosis.
Step 4: Installing the New Component
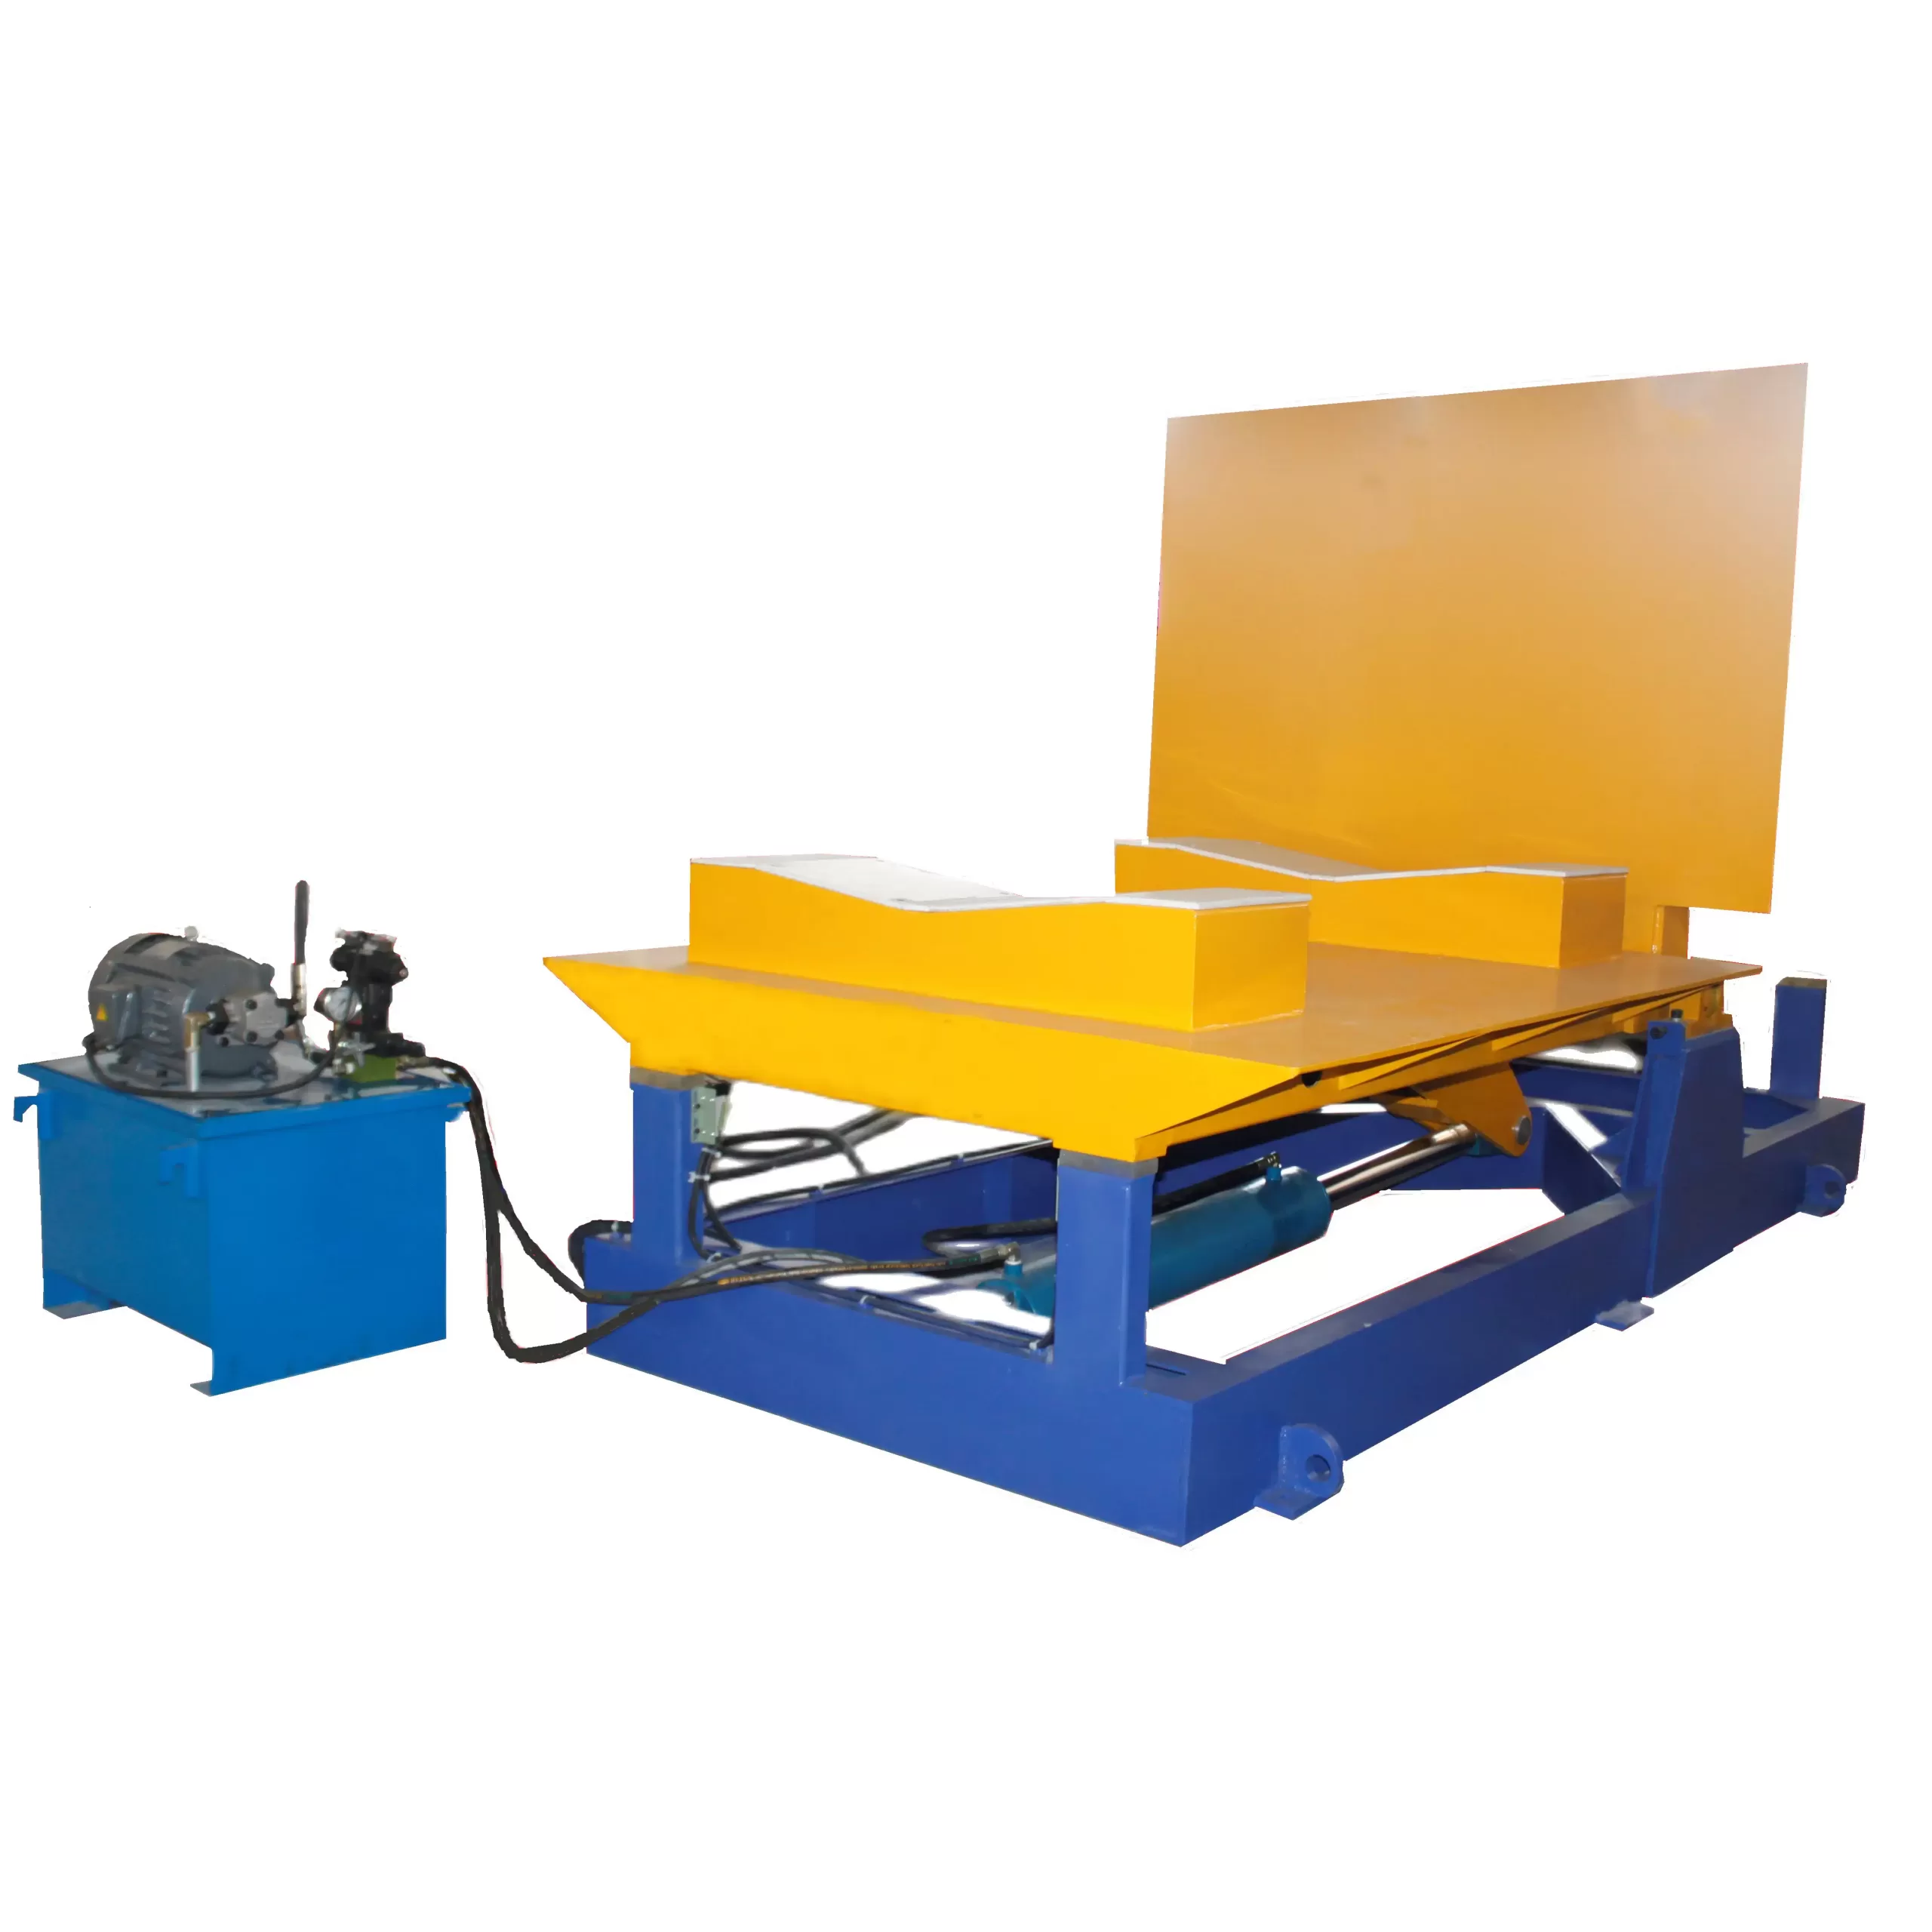
With the faulty component removed, install the replacement.
- Prepare the New Component: Unpack the new component and inspect it for any shipping damage. Ensure it is the correct replacement part.
- Lubricate Seals (if applicable): For components with O-rings or seals, lightly lubricate them with clean hydraulic fluid to aid installation and prevent damage during assembly.
- Position and Mount the New Component: Carefully position the new component in its designated location. Align mounting holes and secure it using the appropriate hardware. Torque bolts and screws to the manufacturer's specifications (if available in the manual). Avoid over-tightening, which can damage components.
- Reconnect Hydraulic Lines: Reconnect the hydraulic lines to the new component, ensuring they are connected to the correct ports according to your labeling (and photos from disassembly). Tighten fittings securely, but avoid over-tightening. Use new O-rings or seals on fittings where possible.
- Double-Check Connections: Before proceeding, double-check all hydraulic and mechanical connections to ensure they are secure and correctly installed.
Step 5: System Testing and Start-Up
After component replacement, thorough testing is crucial to ensure proper function and identify any remaining issues.
- Refill Hydraulic Fluid: If you drained a significant amount of fluid, refill the hydraulic reservoir with clean, new hydraulic fluid of the correct type to the recommended level.
- Bleed Air from the System: Air trapped in the hydraulic system can cause erratic operation and damage components. Follow the mold upender manufacturer's recommended procedure for bleeding air. This often involves cycling the system slowly at low pressure.
- Initial Power-Up and Low-Pressure Test: Restore power to the mold upender (remove lockout/tagout, but remain vigilant). Start the hydraulic pump and operate the upender at low pressure, if possible. Observe for leaks, unusual noises, or jerky movements.
- Full Operational Test: Gradually increase pressure and cycle the mold upender through its full range of motion. Check for smooth, controlled movements and proper functioning of all hydraulic functions. Monitor pressure gauges to ensure they are within normal operating ranges.
- Leak Check: Carefully inspect all connections for leaks while the system is under pressure. Tighten fittings slightly if minor leaks are observed. If leaks persist, shut down the system and investigate further.
- Final Adjustments and Calibration: Depending on the component replaced, some adjustments or calibration might be necessary. Refer to the mold upender's manual for specific procedures.
Step 6: Preventative Maintenance and Long-Term Care
Replacing a component is often a reactive measure. To minimize future downtime, implement a robust preventative maintenance program for the hydraulic system.
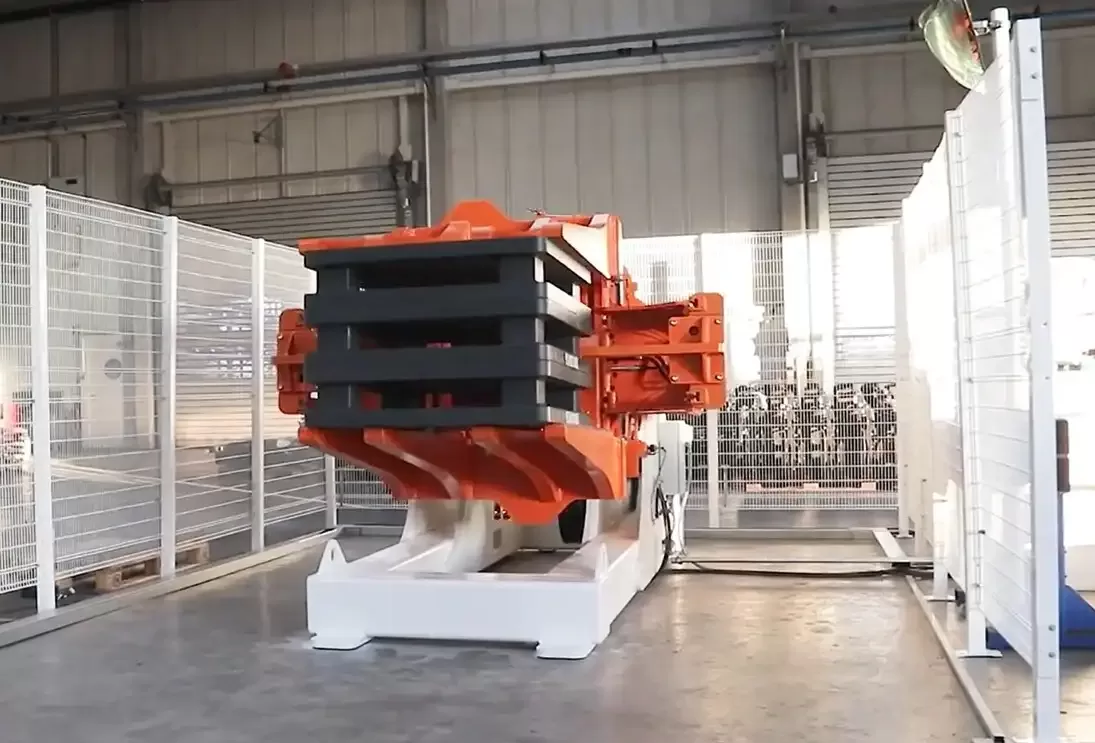
- Regular Inspections: Conduct routine visual inspections of the hydraulic system for leaks, hose damage, and general condition.
- Fluid Analysis: Periodically sample and analyze the hydraulic fluid to check for contamination, viscosity breakdown, and water content. Follow manufacturer recommendations for fluid change intervals.
- Filter Replacement: Replace hydraulic filters regularly to remove contaminants and maintain fluid cleanliness.
- Component Overhaul/Replacement Schedule: Based on operating hours and manufacturer recommendations, establish a schedule for overhauling or replacing critical hydraulic components before they fail.
- Operator Training: Ensure operators are properly trained on the correct operation of the mold upender and are aware of the signs of hydraulic system problems.
Conclusion
Replacing hydraulic components in a mold upender requires a methodical approach, prioritizing safety and thoroughness. By following this step-by-step guide, maintenance personnel can effectively address component failures, restore the upender to optimal operating condition, and contribute to a safer and more productive manufacturing environment. Proper preparation, careful diagnosis, correct installation procedures, and rigorous testing, combined with preventative maintenance, are essential for ensuring the long-term reliability and performance of hydraulic mold upenders. This proactive approach minimizes downtime, reduces repair costs, and enhances the overall efficiency of mold handling operations. Step Description Key Considerations 1. Preparation & Safety De-energize, relieve pressure, gather tools, clean area, inspect system. Lockout/tagout, pressure relief is critical, correct tools and replacement parts. 2. Diagnosis Identify symptoms, pressure checks, leak detection, component-specific checks. Systematic approach, use gauges, understand operational issues. 3. Component Removal Isolate, drain fluid, disconnect mounting, carefully remove faulty component. Label hoses, prevent contamination, proper lifting techniques. 4. Component Installation Prepare new component, lubricate seals, mount securely, reconnect hydraulic lines. Correct part, torque specifications, new seals, proper fitting tightening. 5. System Testing Refill fluid, bleed air, low/high-pressure tests, leak checks, adjustments. Bleeding is crucial, monitor pressure, check for leaks thoroughly. 6. Preventative Maintenance Regular inspections, fluid analysis, filter replacement, scheduled maintenance, operator training. Proactive approach, long-term reliability, minimizes future downtime.