Coil Upender Installation: What You Need to Know for Your Steel Plant?
As a factory manager, you know that every piece of equipment is a critical link in your production chain. When that link is a coil upender—a machine responsible for safely and efficiently rotating heavy steel coils—getting its installation right isn't just a task; it's a strategic investment in your plant's future productivity and safety. A flawed setup can lead to persistent downtime, safety hazards, and a disappointing return on investment. This guide cuts through the complexity, providing the clear, actionable knowledge you need to ensure your upender installation is a success from day one.
Proper coil upender installation requires meticulous planning across five key areas: conducting a thorough site assessment, ensuring precise foundation preparation, executing safe mechanical and electrical integration, performing comprehensive testing and calibration, and establishing a robust operator training and maintenance protocol. Neglecting any of these steps can compromise the machine's performance, safety, and lifespan. (coil upender installation guide, steel plant equipment setup)
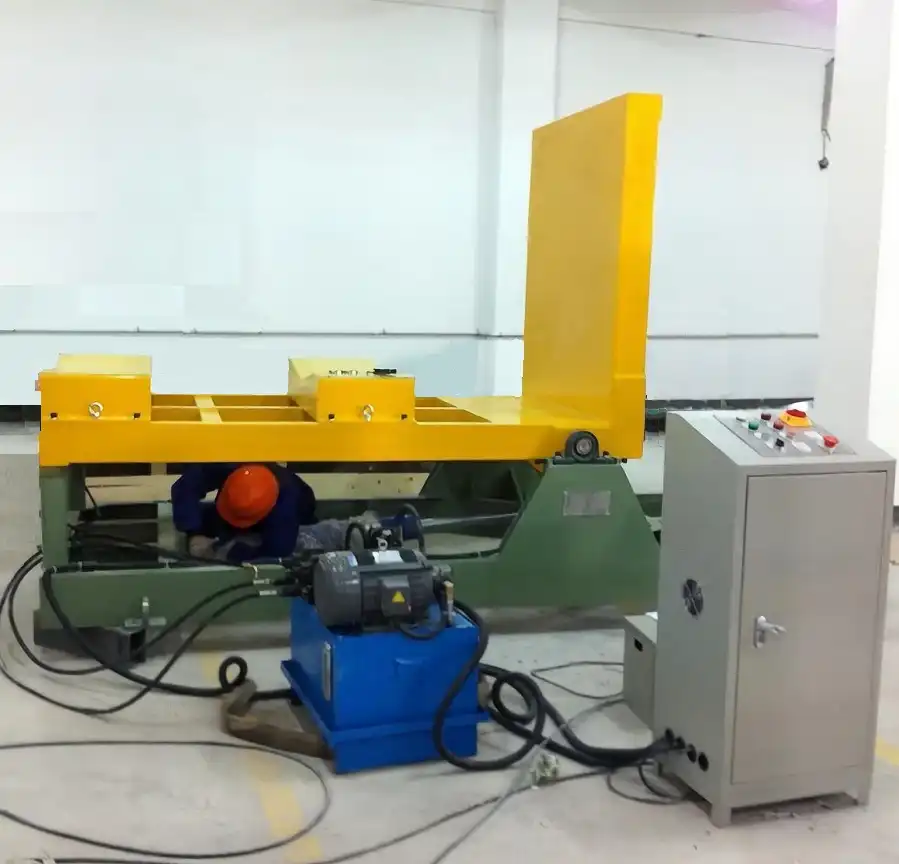
You're not just bolting down a machine; you're integrating a core component of your material handling system. The process demands attention to detail that goes beyond the instruction manual. Let's break down each critical phase, so you can oversee the installation with confidence and avoid the common pitfalls that plague so many industrial projects.
1. What are the critical pre-installation steps for a coil upender?
Imagine the frustration of a brand-new, high-capacity upender arriving at your dock, only to discover it won't fit through the bay door or that your floor can't support its weight. These are costly, time-consuming mistakes that happen when pre-installation planning is rushed. This phase is about proactive problem-solving, turning potential installation nightmares into a smooth, predictable process.
The critical pre-installation steps involve a detailed site survey to verify spatial and load requirements, securing all necessary utility connections (power, hydraulics, air), and preparing a comprehensive project timeline with clear responsibilities. This foundational work ensures the physical and logistical path is clear for a seamless installation. (pre-installation checklist for steel coil equipment, site survey for heavy machinery)
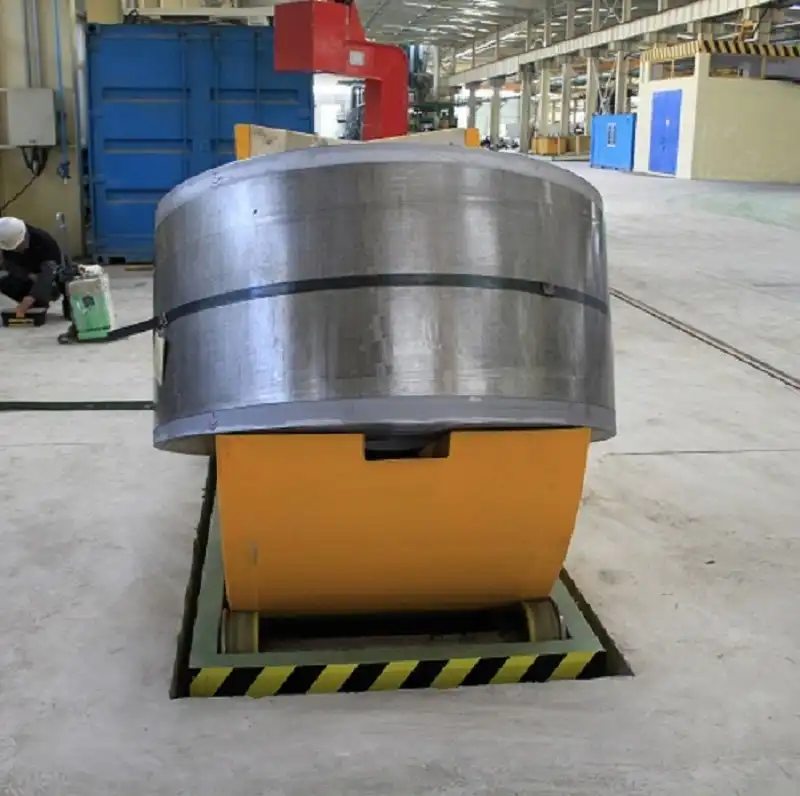
🔍 The Non-Negotiables of Pre-Installation
A successful installation starts long before the truck arrives. Here’s a structured breakdown of what you must confirm.
✅ Dimensional & Access Audit
You need clear answers to these questions:
- Pathway Clearance: What is the exact route from the unloading point to the final installation spot? Measure door widths, ceiling heights, and any obstructions.
- Machine Footprint vs. Site Space: Does the allocated floor space match the upender's base dimensions plus the required safety and operational clearance zones? Operators need space to work safely.
- Overhead & Peripheral Space: Check for overhead cranes, pipes, or conduits. Ensure there's enough room for the coil to rotate fully without hitting anything.
⚖️ Structural & Utility Verification
This is about what’s under and around the floor.
- Floor Load Capacity: This is paramount. Consult your plant engineer to verify the floor's PSI rating can handle the upender's point load (especially when bearing a full coil). Reinforcing the slab after delivery is a major setback.
- Power Supply: Confirm the voltage, phase, and amperage requirements. Is the correct power source within a feasible distance? You may need an electrician to run a new line.
- Fluid Power Connections: For hydraulic upenders, plan the route for hydraulic hoses from the power unit. For pneumatic models, ensure adequate air pressure and flow are available at the site.
📋 Logistics & Communication Plan
- Schedule Coordination: Align the delivery date with your team, the rigging crew, and the supplier's installation technicians. Downtime is expensive; have everyone ready.
- Responsibility Matrix: Clearly define who handles what: receiving, uncrating, moving, and initial positioning. Miscommunication here causes delays.
- Tool & Resource List: Ensure all necessary tools (cranes, forklifts rated for the weight, leveling equipment, foundation bolts) are confirmed and available.
Skipping these steps is a gamble with your project's budget and timeline. A thorough pre-installation phase, much like the meticulous engineering behind a Fengding or Wuxi Bu Hui upender, sets the stage for flawless execution. (steel plant facility planning, heavy equipment installation protocol)
2. How do you prepare the foundation and position the upender correctly?
The foundation is the literal and figurative bedrock of your upender's operation. An improperly prepared base will lead to misalignment, excessive vibration, premature wear on components, and even structural failure. This stage transforms a patch of your plant floor into a dedicated, high-performance station for handling multi-ton coils.
Foundation preparation involves creating a level, high-strength concrete plinth or verifying an existing reinforced floor, followed by the precise positioning and leveling of the upender base using laser tools. Correct positioning is critical for aligning with incoming and outgoing conveyor lines or transport vehicles. (coil upender foundation requirements, machinery positioning and leveling)
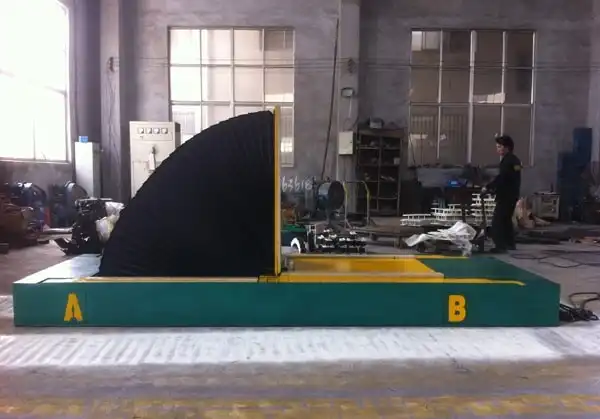
🏗️ Building a Stable Base: A Step-by-Step Guide
Let's dive into the two core activities of this phase.
| Step | Activity | Key Consideration | Potential Risk if Ignored |
|---|---|---|---|
| 1. Foundation Creation | Pour a reinforced concrete foundation or verify existing slab specs. | The foundation must exceed the machine's weight + max coil load. Use anchor bolt templates. | Subsidence, cracking, dangerous machine movement. |
| 2. Initial Placement | Use appropriate rigging (cranes/specialized forklifts) to place the upender onto the foundation. | Lift from designated points. Keep the center of gravity low and controlled. | Damage to the machine, floor, or injury to personnel. |
| 3. Rough Leveling | Use steel shims under the base to achieve approximate level. | Shim at all mounting points. Use durable, non-compressible shim material. | Fine leveling becomes impossible; stress on the frame. |
| 4. Anchor Bolt Fixing | Secure the upender to the foundation using high-tensile anchor bolts. | Follow a cross-tightening pattern to avoid distorting the base. Do not overtighten initially. | The machine can "walk" or shift during operation. |
| 5. Precision Leveling | Use a precision optical or laser level to achieve level within 0.5mm/m over the entire base. | Check level in multiple directions. This is critical for hydraulic system and bearing life. | Uneven load distribution, seal leaks, binding rotation. |
| 6. Final Grouting | Pour non-shrink grout into the space between the base and foundation. | Ensure the cavity is clean and the grout flows completely to support the entire base plate. | Voids lead to point loads, vibration, and bolt fatigue. |
🎯 Positioning for Workflow Integration
Leveling is only half the battle. Positioning ensures the upender works with your line, not as an obstacle.
- Infeed/Outfeed Alignment: The center of the upender's arms or cradle must align perfectly with the conveyor, roller table, or P&D (Pickup & Delivery) point for the coil. Even a small misalignment causes coils to snag or drop.
- Operator Access & Safety Zones: Position the control panel for clear visibility of the rotation cycle. Ensure emergency stops are accessible and safety fencing (if used) does not create entrapment hazards.
- Future Maintenance Access: Leave adequate space around the unit for technicians to service hydraulic cylinders, motors, and bearings.
Think of this phase as building a trusted partner into your floor. The precision you apply here directly impacts the smooth, reliable rotation of every coil for years to come. (industrial machinery anchoring, workflow integration for material handling)
3. What is involved in the mechanical and electrical hookup?
This is where the upender transitions from a static structure to a functional machine. Mechanical and electrical hookup involves connecting all the power and control systems that bring the upender to life. Errors here can lead to immediate operational failure, erratic movement, or serious electrical hazards. It requires a methodical approach and often certified technicians.
The mechanical and electrical hookup involves connecting the main power supply to the control cabinet, integrating hydraulic or pneumatic systems (including piping, fluid filling, and bleeding), and establishing communication links with any plant-wide control systems (PLC networks). Each connection must be torqued, sealed, and tested according to specification. (coil upender electrical wiring, hydraulic system commissioning)
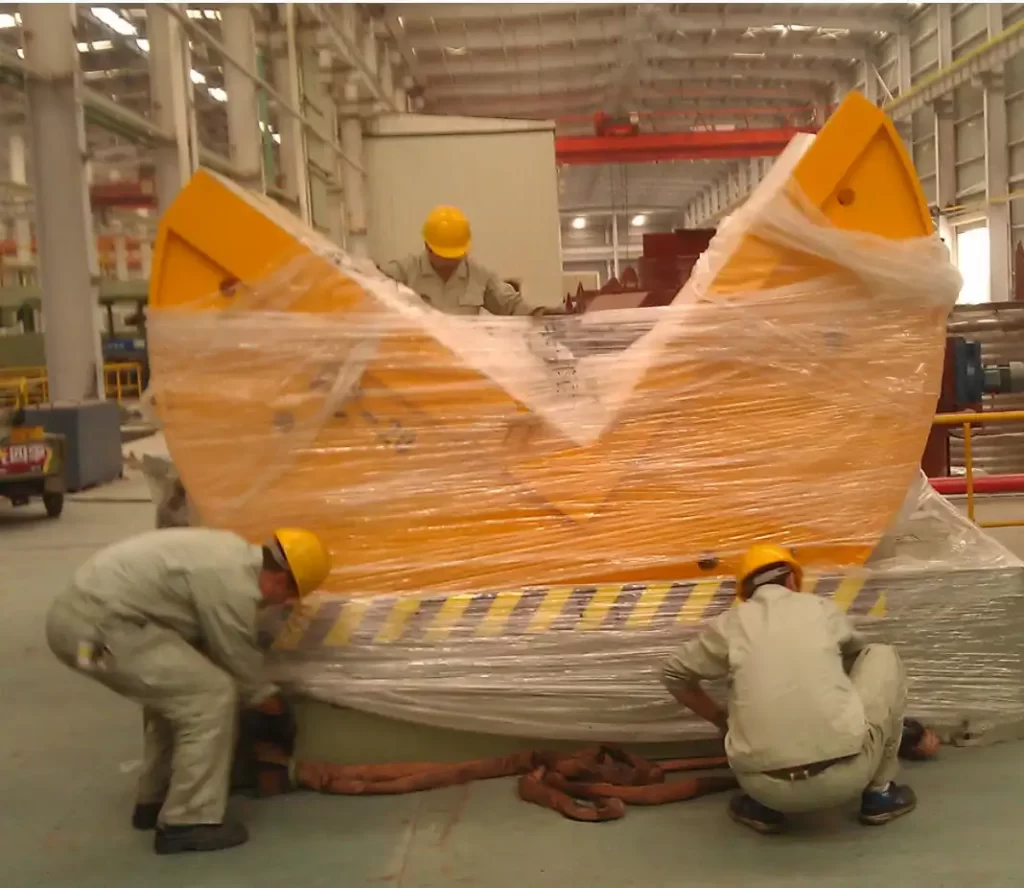
⚙️ Connecting the Systems: A Closer Look
This process integrates several complex subsystems.
🔌 Electrical System Integration
- Main Power Feed: A licensed electrician should make the final connection from your plant's disconnect switch to the upender's main terminal block. They will verify voltage, phase rotation, and ground integrity.
- Control Circuit Verification: Inside the control panel, technicians will check that all low-voltage control circuits (for buttons, sensors, safety relays) are wired correctly. This includes limit switches that tell the machine when the coil is in position or the rotation is complete.
- Safety Circuit Activation: This is critical. All safety devices—emergency stop buttons, light curtains, guarding interlocks—must be wired into a safety-rated relay or PLC. This circuit must be tested to ensure it halts all machine motion immediately when activated.
🛢️ Hydraulic/Pneumatic System Commissioning
For hydraulic upenders (the most common type for heavy coils):
- Piping Connection: Connect pre-fabricated hydraulic hoses or steel pipes from the power unit (pump, reservoir, valves) to the lift/tilt cylinders. Use proper thread sealant and torque wrenches to prevent leaks.
- Fluid Introduction: Fill the reservoir with the correct grade of hydraulic fluid, as specified by the manufacturer. Using the wrong fluid can damage seals and pumps.
- Bleeding the System: This removes air from the hydraulic lines and cylinders. Air in the system causes spongy, jerky movement and can damage components. The technician will cycle the cylinders slowly, often with bleeder valves open, until smooth operation is achieved.
- Pressure Setting: Adjust the system relief valve to the specified operating pressure. Too high causes stress and leaks; too low results in insufficient lifting force.
🖥️ Control System Interface
- PLC Integration: If your upender needs to communicate with a central plant PLC (e.g., to receive commands from a production line supervisor), the communication protocol (e.g., Profibus, Ethernet/IP) must be configured and tested.
- I/O Point Check: Every digital input (e.g., "coil present" sensor) and output (e.g., "rotation complete" signal) is tested to ensure data is being sent and received correctly.
Rushing this phase invites trouble. A methodical hookup, following the schematics provided by quality manufacturers like Fengding, ensures reliable and safe power delivery for every lifting cycle. (industrial electrical safety, hydraulic system installation for heavy machinery)
4. How do you conduct testing, training, and final sign-off?
The installation isn't complete when the machine first moves. This final phase validates performance, empowers your team, and formally transfers responsibility. It transforms the upender from a supplier's project into your operational asset. Skipping rigorous testing or inadequate training is the fastest way to erode your ROI and create new safety risks.
Final commissioning involves a structured test sequence from no-load dry runs to full-capacity operation, followed by comprehensive, hands-on training for operators and maintenance staff. The process concludes with a formal sign-off document that lists all completed tests, accepted performance metrics, and outlines warranty and support terms. (coil upender commissioning procedure, operator training for packing equipment)
✅ The Commissioning & Handover Protocol
This is your checklist to ensure a complete handover.
🔬 Performance Testing Pyramid
Conduct tests in this logical order:
-
No-Load Functional Test: Run the upender through all its motions—lift, rotate, lower—without a coil. Verify smooth movement, proper sequencing, and that all limit switches and sensors function.
- Check: Jerky motion? Unusual noises? Sensors triggering correctly?
-
Safety System Validation: Deliberately activate every safety device. Pull every E-stop, break the light curtain beam, open the guard door. The machine must stop immediately and require a manual reset.
- Check: Does any motion continue? Is the reset procedure clear?
-
Load Test with Dummy Weight: Use a test weight (often provided or specified by the installer) equivalent to 50-75% of capacity. This tests the system under load without risking your product.
- Check: Does it lift smoothly? Does it hold position without drift?
-
Full-Capacity Operational Test: This is the final proof. Use an actual coil at or near the machine's rated capacity. Run multiple cycles, simulating real production speed.
- Check: Cycle time meets spec? No excessive vibration? Coil sits securely without slipping?
👨🏫 Operator & Maintenance Training
Training is not a casual overview. It should be documented and include:
- Daily Operation: Starting up, shutdown, normal cycling, emergency procedures.
- Daily/Weekly Checks: Visual inspection points, fluid level checks, leak detection.
- Basic Troubleshooting: How to respond to common alarms (e.g., low pressure, sensor fault).
- Preventive Maintenance Schedule: Review the manual's PM list—greasing bearings, changing filters, checking hose condition.
📝 The Final Sign-Off
Do not accept the machine without a Punch List and Acceptance Certificate.
- Punch List: A live document created during testing that notes any minor issues (a scratched panel, a loose wire duct). The installer must resolve all items before sign-off.
- Acceptance Certificate: This formal document states that the upender has been installed, tested, and accepted according to the agreed specifications. Signing it typically starts the warranty period. Ensure it references the test results and training completion.
This phase closes the loop. It gives you, the plant manager, the confidence and documentation that your new Coil Upender is ready to deliver on its promise of safer, more efficient production. (industrial equipment acceptance testing, maintenance training for factory teams)
Conclusion
A successful coil upender installation is a disciplined process of planning, precision, and validation. By mastering these steps, you secure a reliable asset that boosts safety, eliminates bottlenecks, and delivers a strong return on investment for your steel plant.